How to Build a Simple Hut in a Weekend
Aug 2017
This is a small project that you can do in a weekend. No hard work, just some relaxing building and fiddling around with wood.
The goal would be to build a small hut to use durring the summer time for storing stuff, for shade or whatever you might think of.
Knowledge required: Basic stuff only (i.e. how to screw, how to hammer nails, how to cut wood). If you have two hands, you can do it.
The tools you need:
- Nails and hammer;
- Screwdriver and screws;
- Pen and ruler;
- Leveler;
- Saw (electric, combustion, manual); Or whatever cutting tool for wood you have around;
- Paint of some kind. Something you like. Something that is appropiate for wood, for outdoors envirorment.
- And of course: wood.
As for the wood, you need at least 4 pieces of 4x4 (cm) x 4m and wood planks (2x12 or whatever size you have).
If you want to have a good finished product, I would recommend to use sand paper or other kind of tool to smooth out the wood before begining the work.
Building:
Start by cutting the 4 wood beams in 8 pieces: 4 for the support beams and 4 for the roof.
Size does not really matter, choose something based on location, needs and available length of beams you have at hand.
Note: This type of frame is appropiate only for small sizes though, somewhere less than 3-4 meters.
Build the two lateral 'walls' by using 2 support beams and 1 roof beam. Put them vertical temporary.
Use the other 2 roof beams to connect the 2 walls. Use a leveler to make sure everything is square, vertical and horizontal.
To join everything together use nails or screws. The best option would be to use both and one has shearing strength and the other has pulling strength.
Start adding the wall planks. I choosed here an overlapping pattern, you can do it as a flat regular wall if you like it more. The one I choose works best with horizontal rows of wood as it has the advantage that rain just falls down to the ground and does not seep through the walls.
For the roof I used some reeds I had laying around. You can choose something else, like wood, tiles or whatever you like.
You are pretty much done. Just paint the whole thing with a protective coat of varnish, oil or something else that is appropiate for wood and for outdoors use.
All in all, it took me a day to build this, enjoying the outdoors weather at the same time.
Accessories:
If you have any wood left, build a small table, few cabinets and a bench. Details on how to build those, I'll explain on a future article. But it's nothing fancy, you can do it just by looking at the pictures below.
Pictures:
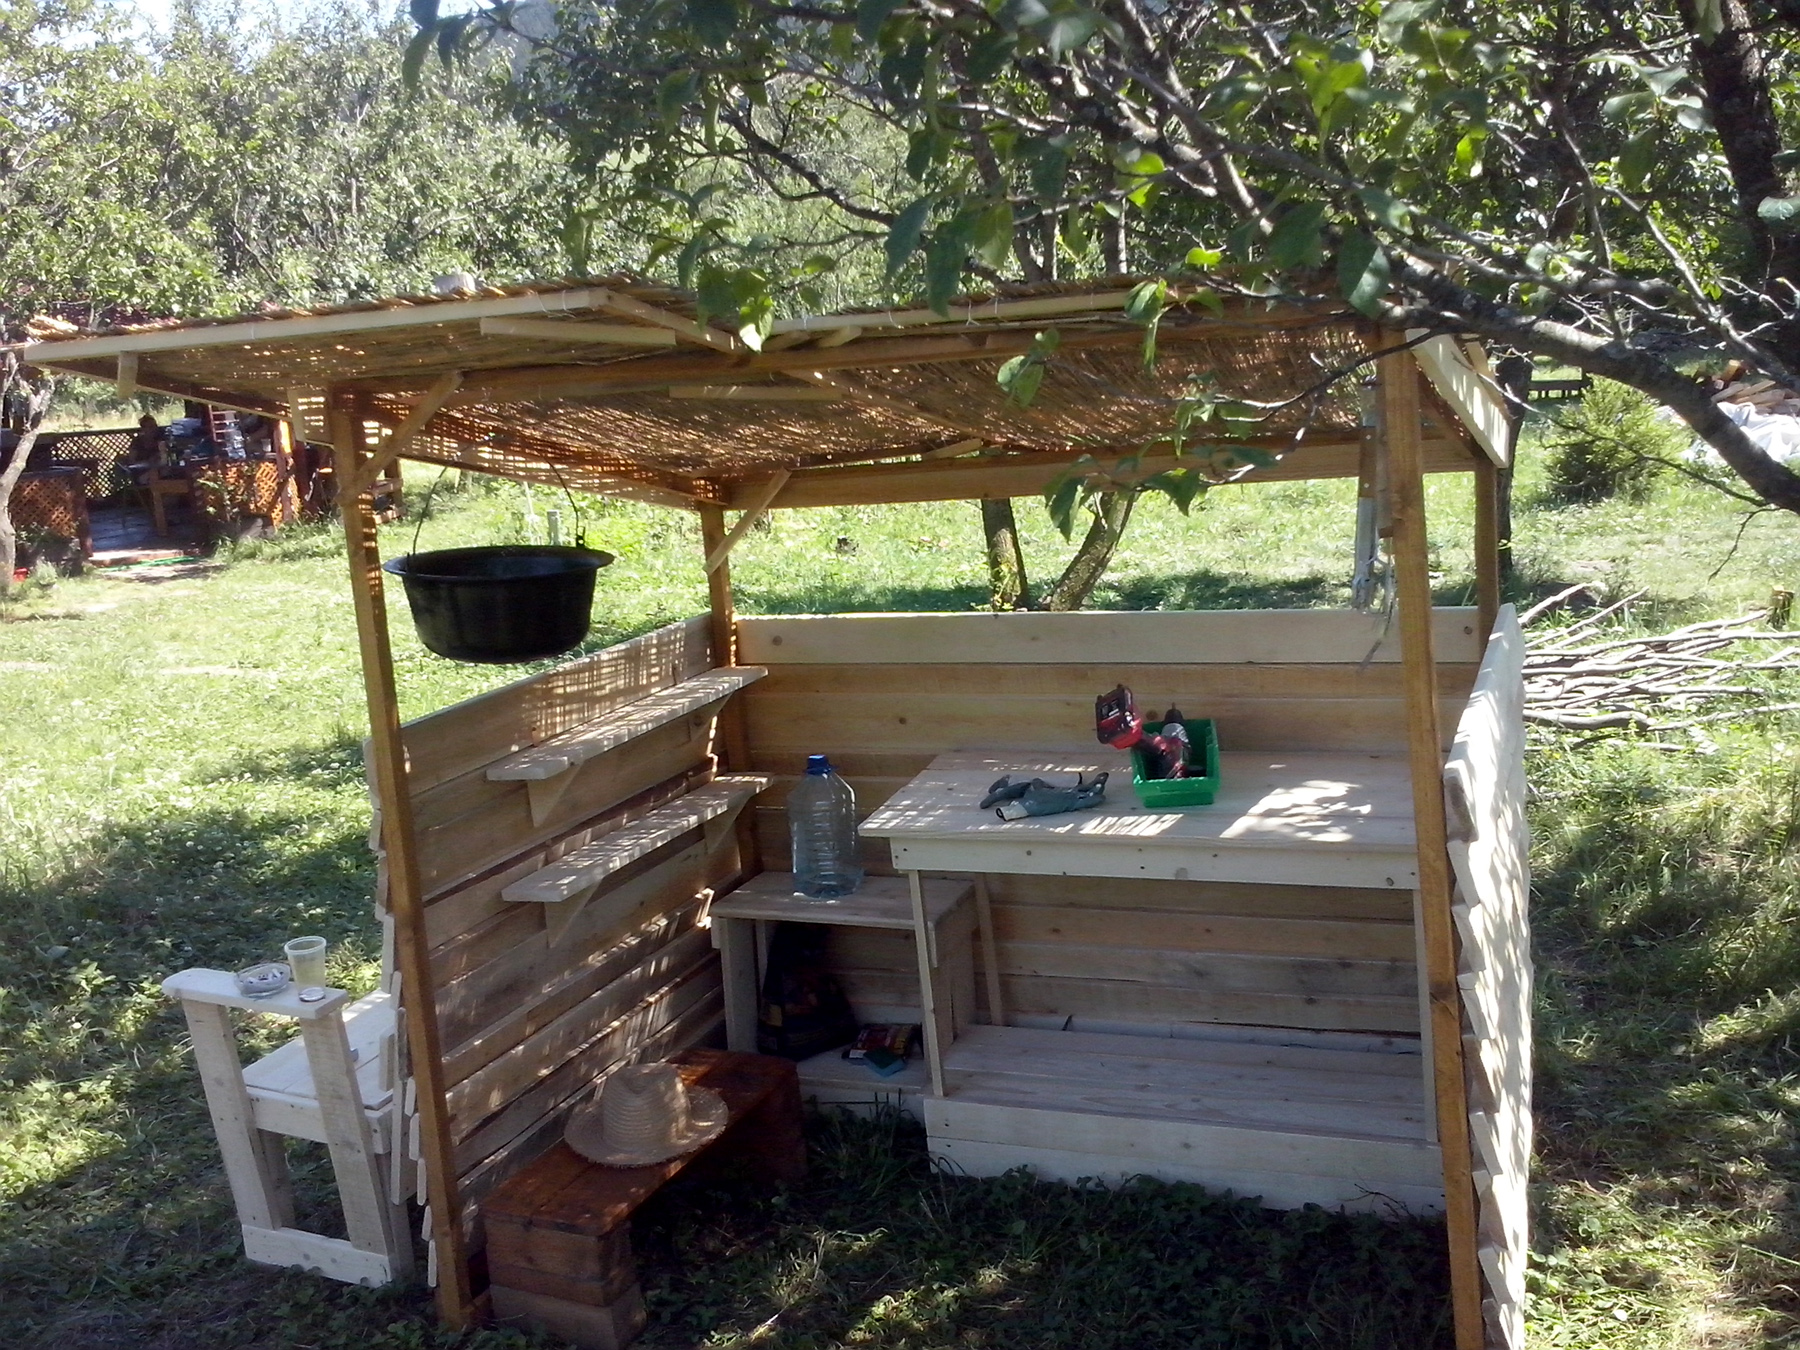
Finished hut:

(Click to zoom)
Note there is no fundation for this. You don't need it for something like this. Just 4 square stones to rest the beams on is more than enough.

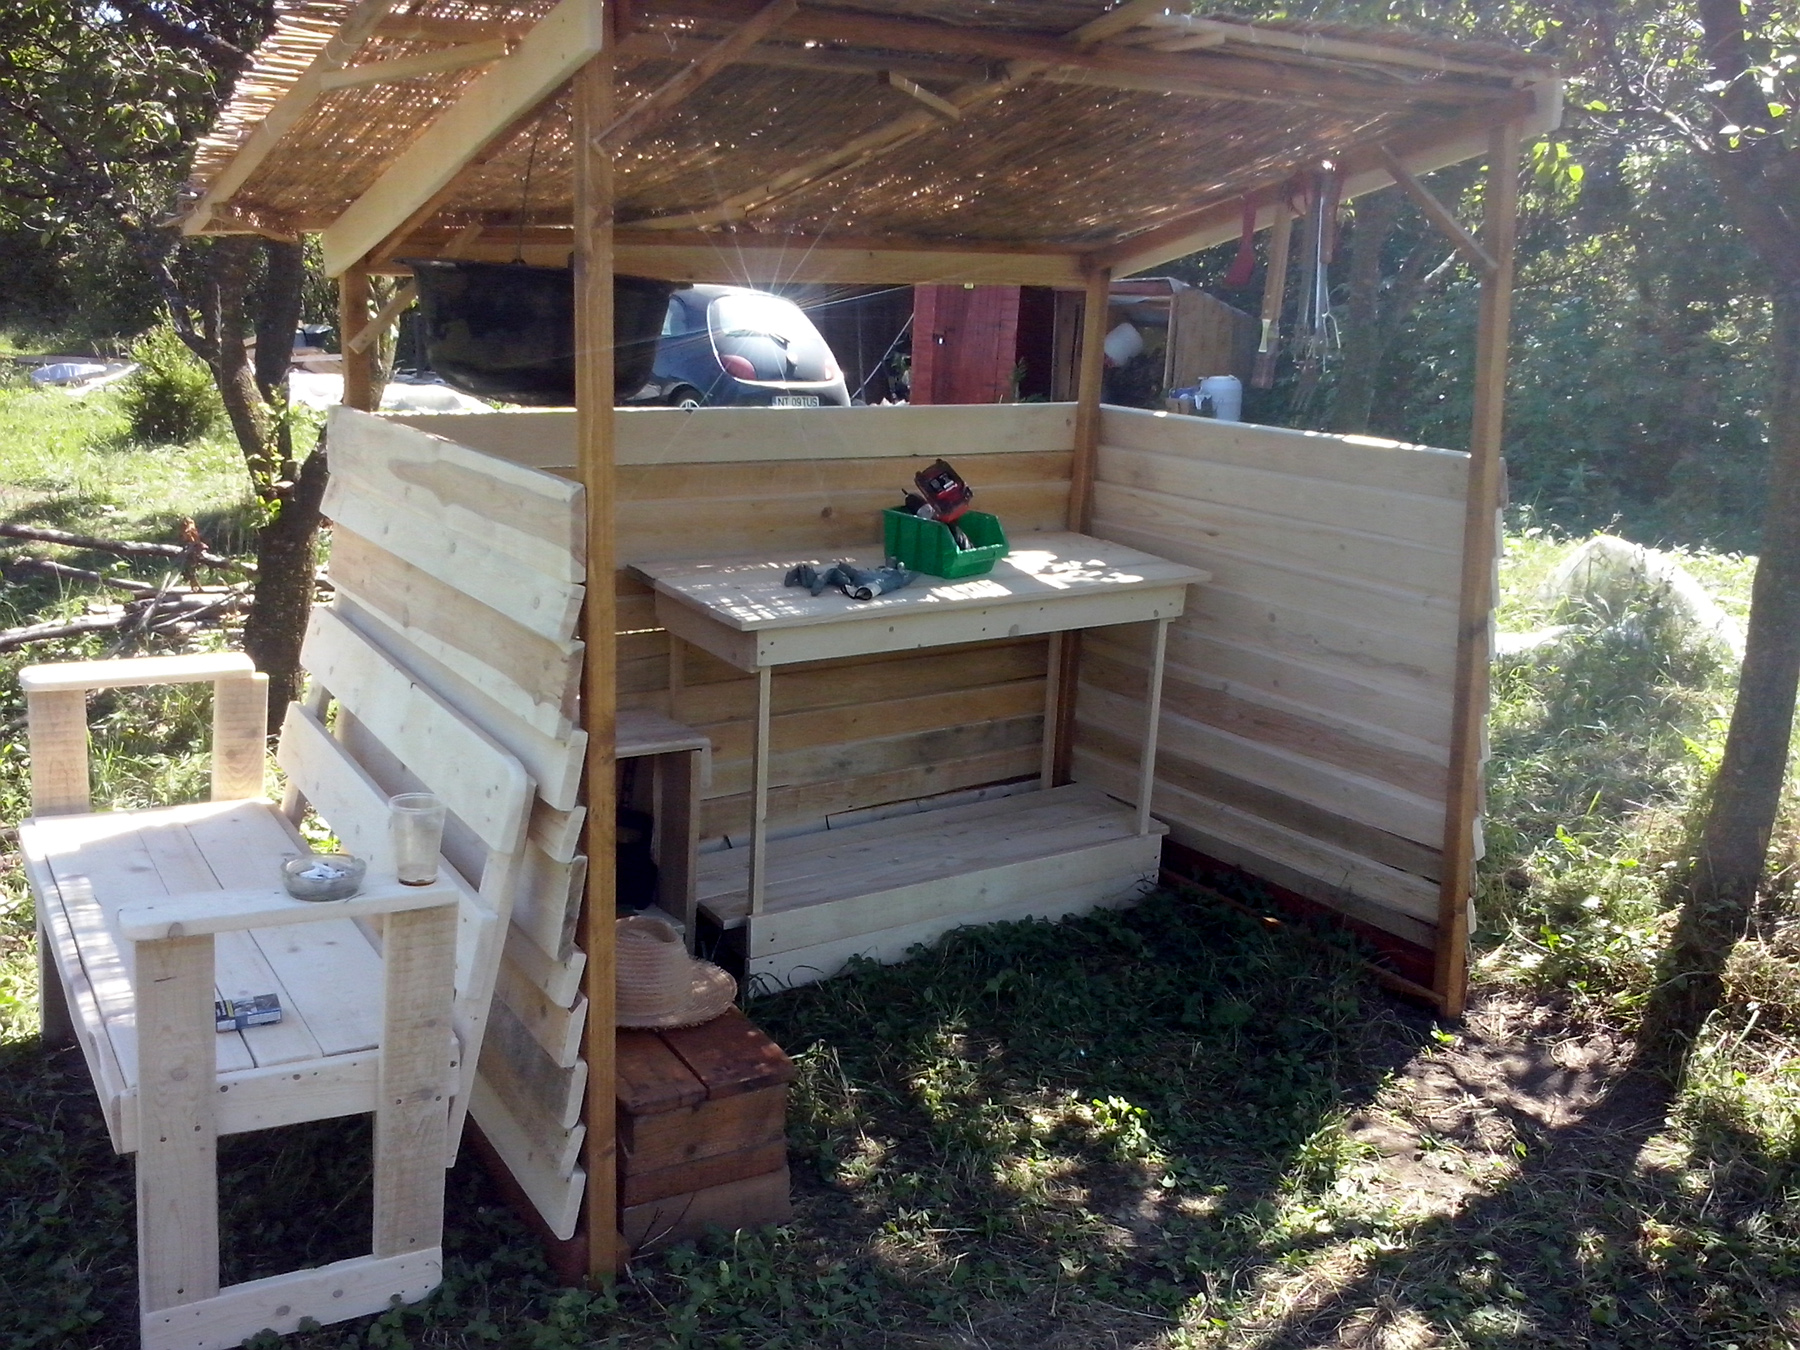
(Click to zoom)
It does provides appropiate shade.

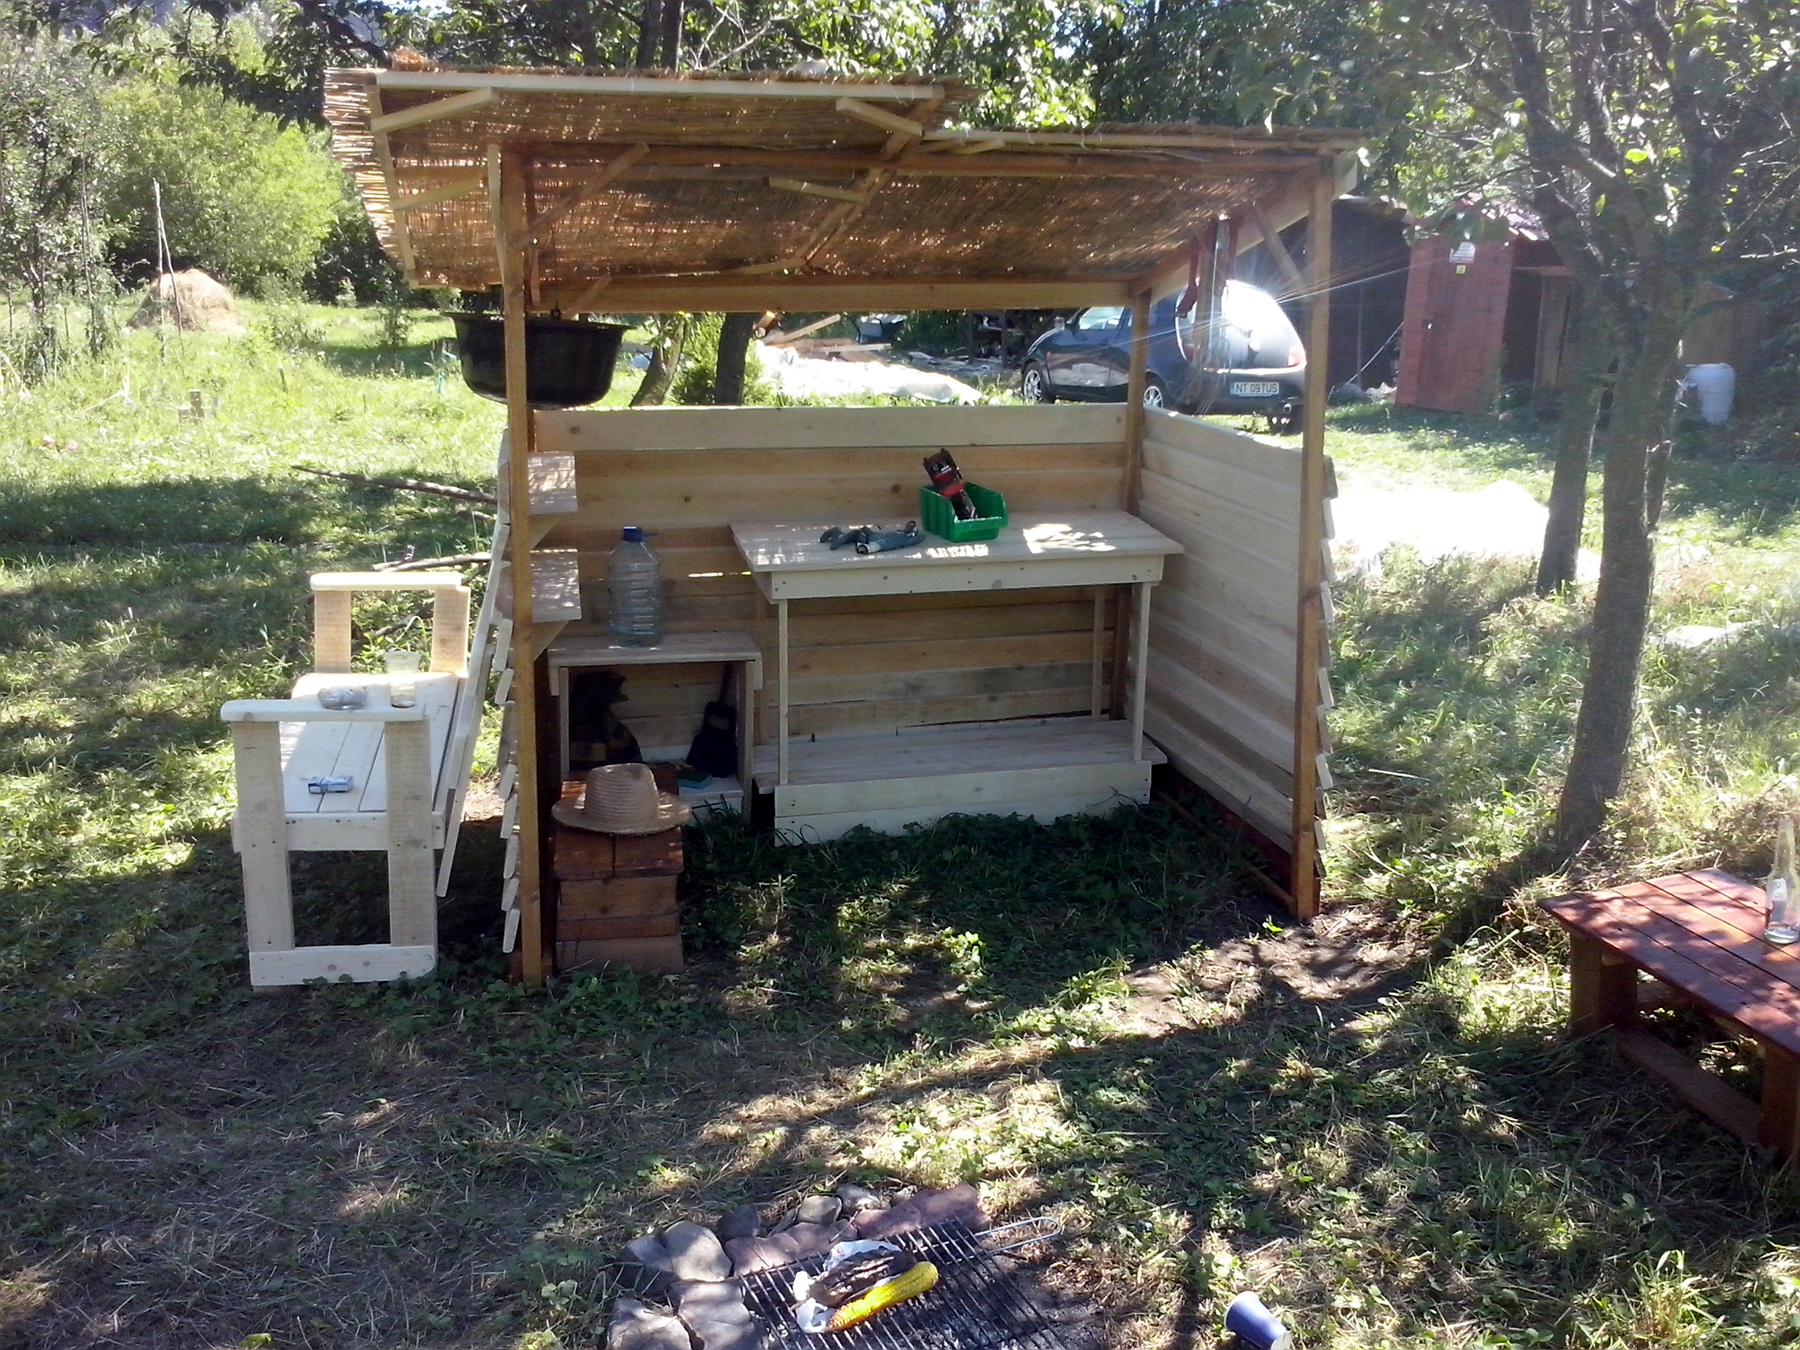
(Click to zoom)
I use it for storage for convenience near a summer fire pit.

(Click to zoom)
As you can see, the roof is not water proof, but it does not have to be for it's purposes (summer use only).

(Click to zoom)