
|
|
| Please select a language first: |
|
|
|
| Please select a language first: |
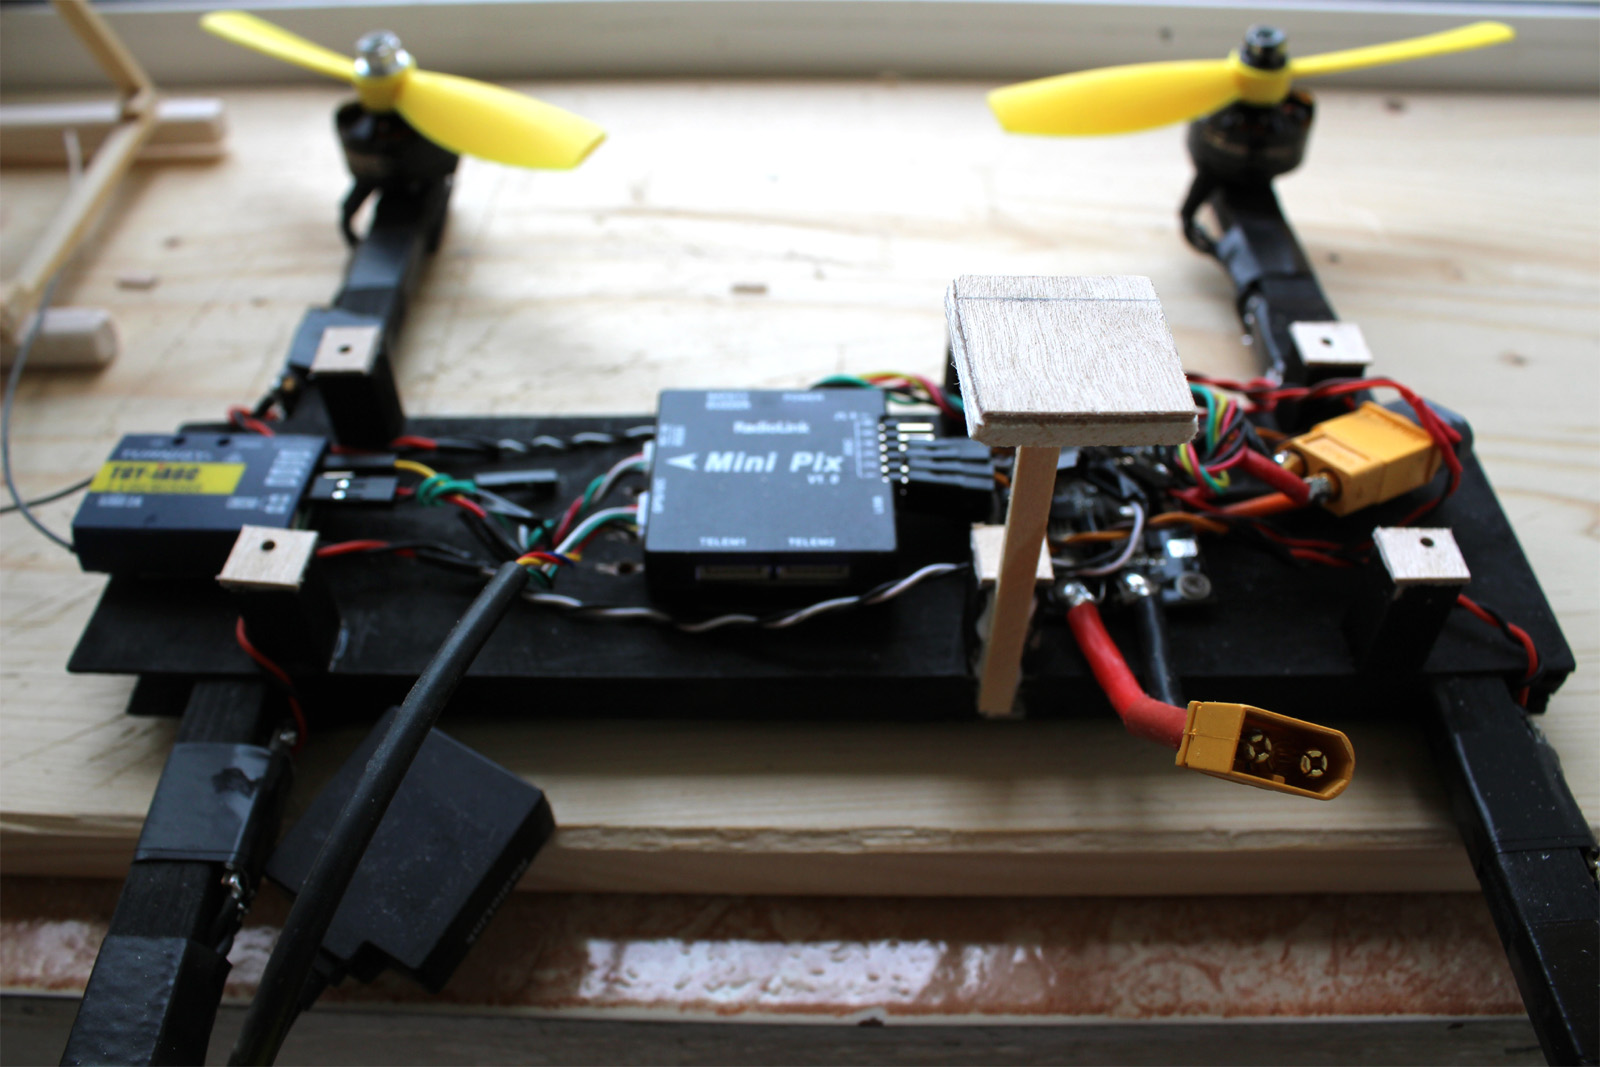
 1. Take some wood sticks you have. Any wood is fine, even balsa wood if you want to go for a very light build. Just make sure you use a thicker size if so. Cut the wood as above: one long stick, and two half the size, minus the width of the stick. Make sure you measure it as accurate as possible as this determines the geometry of the drone and how symetric everything is. Also, cut 4 small pieces, the size is not so important. | 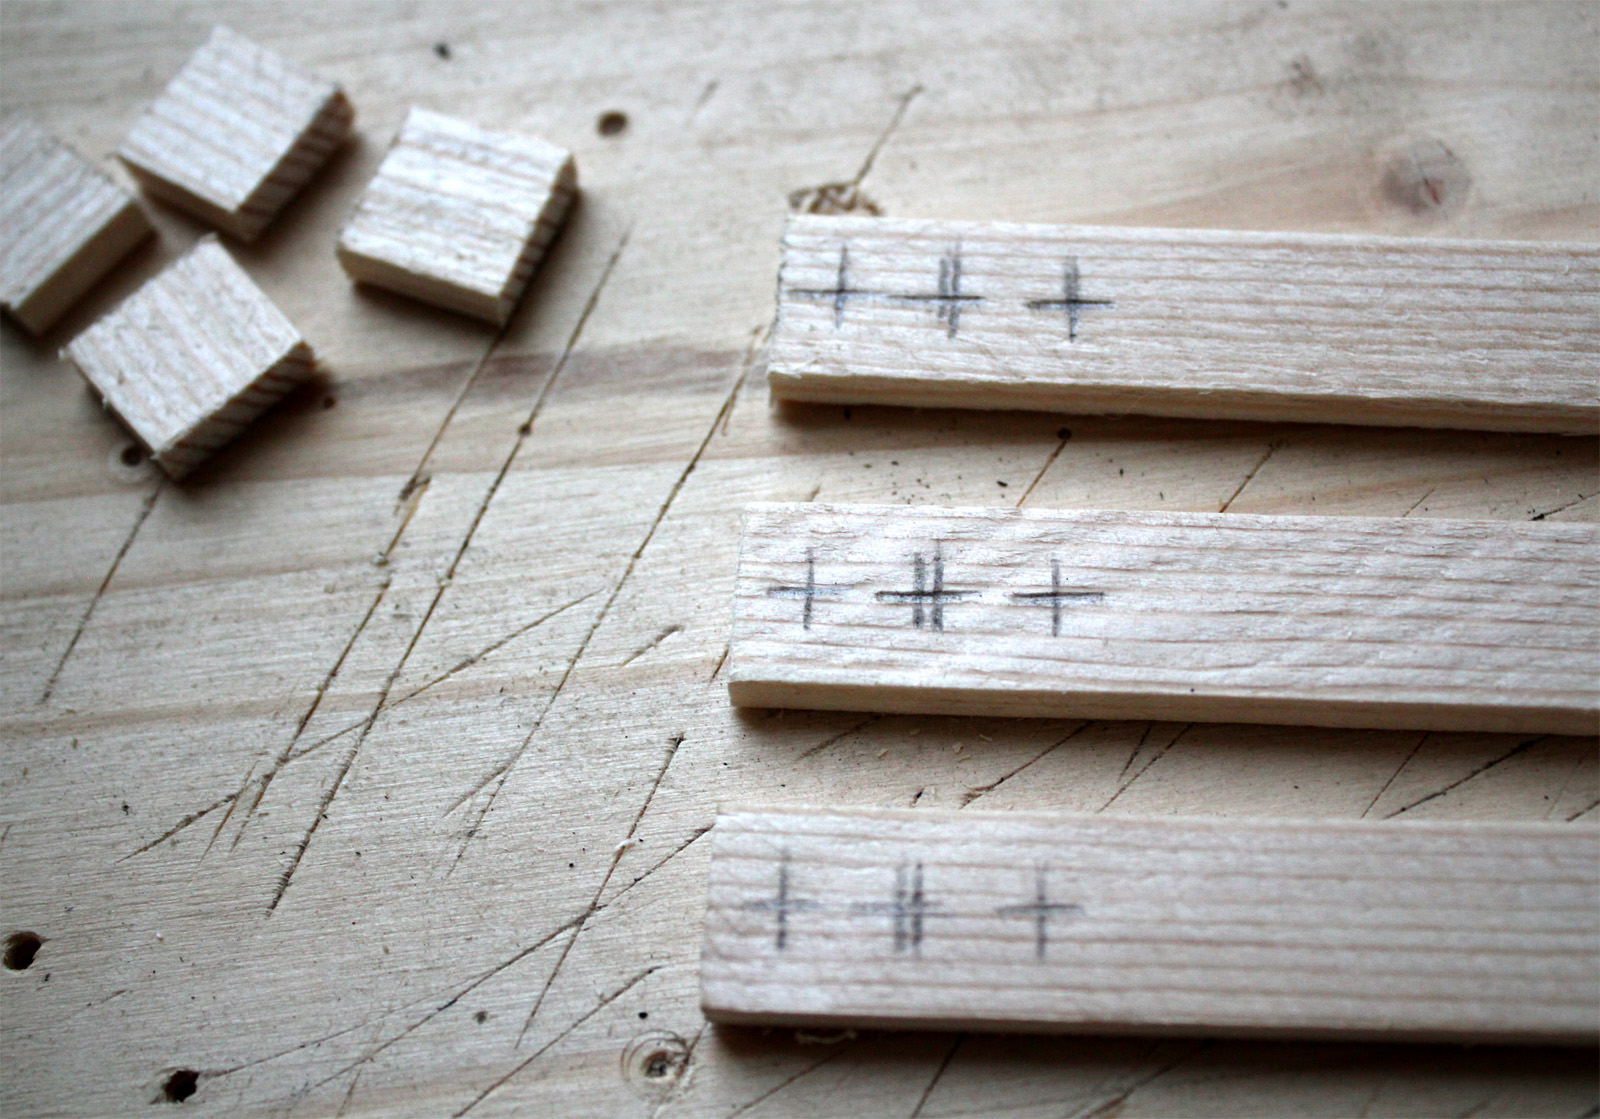 2. Mark the spots for the motor mounting holes. This is based on what motors you'll be using. | |
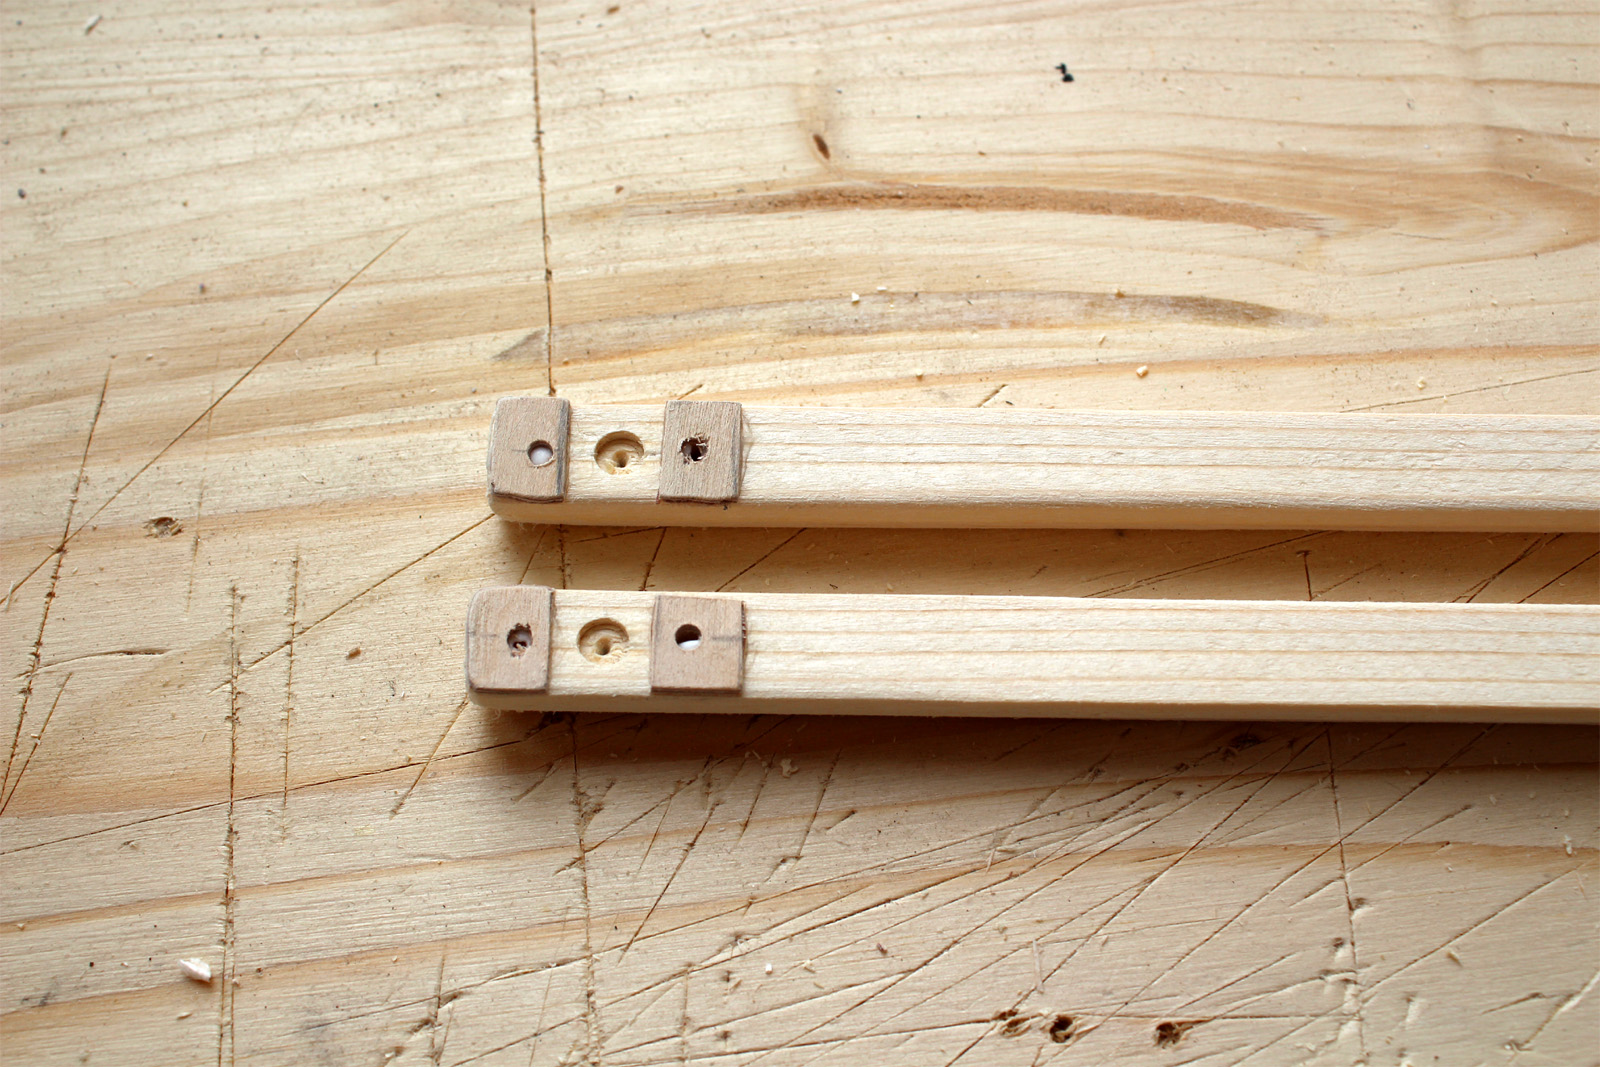
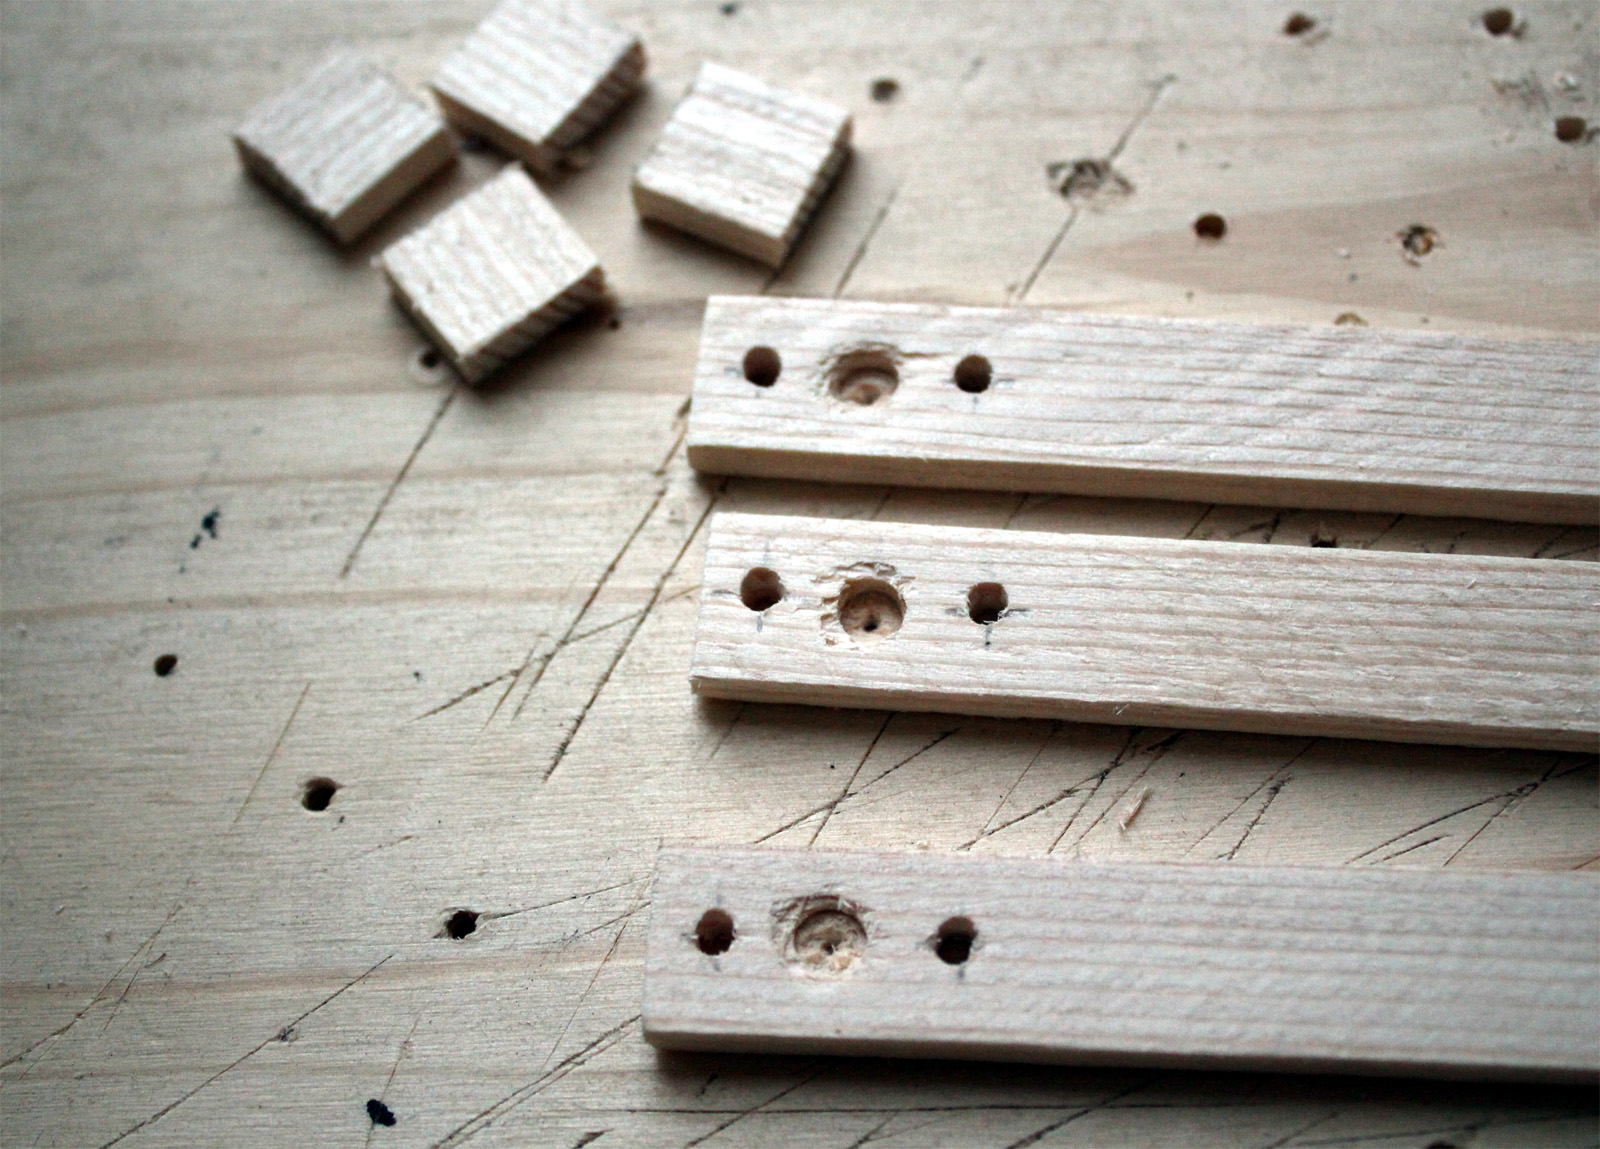 3. Drill holes for the motor mounting screws. If your motor shaft sticks out from the bottom of the motor, then drill the center hole too. This one should be larger and not all the way through. |  4. Mark the middle of the longer stick, making sure to mark the width of the stick too. | |
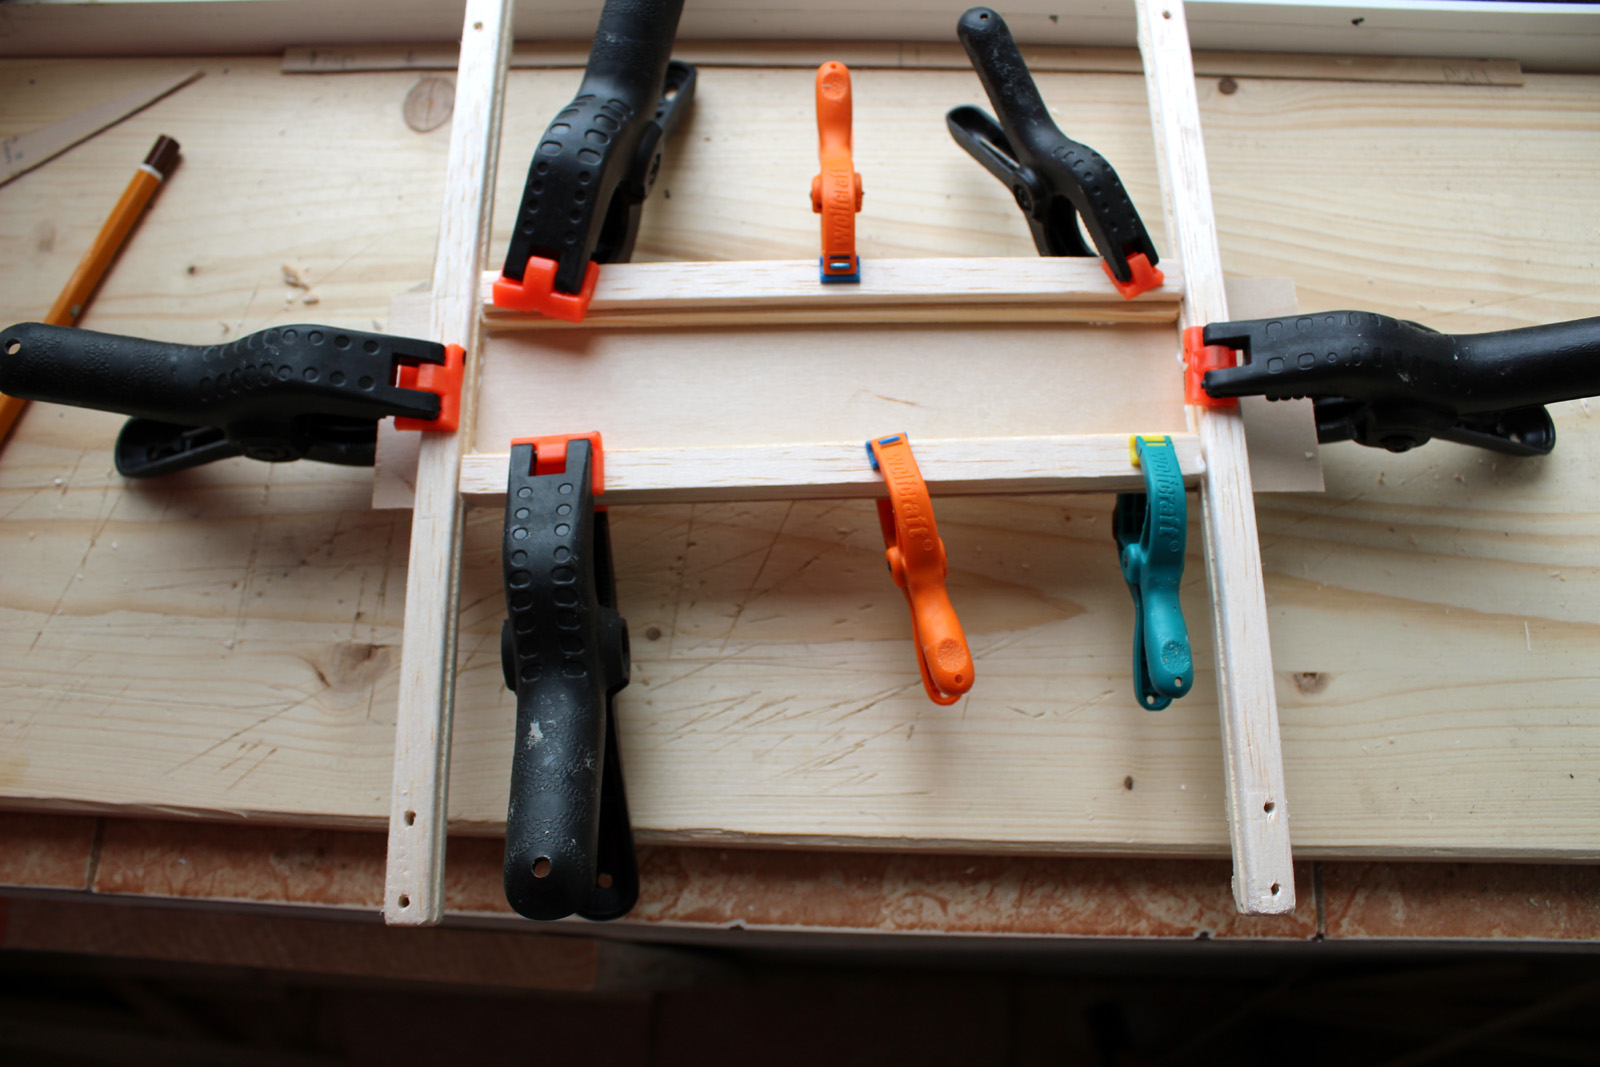
 5. From a plank of plywood (or any other wood for that matter), cut a rectangle, large enough to cover the center of the sticks, to have room for electronic components, but not too large to block the flow from propellers. |  6. Glue the sticks to this plate, making sure that the sticks are perpendicular to each other. Center this on the plate as good as you can, but it's not so critical. Sticks beeing perpendicular is as it determines how well balanced the drone will be. A simple trick to measure this is to measure the distances from all tips of the sticks: they should be all equal to get a perfect square. | |
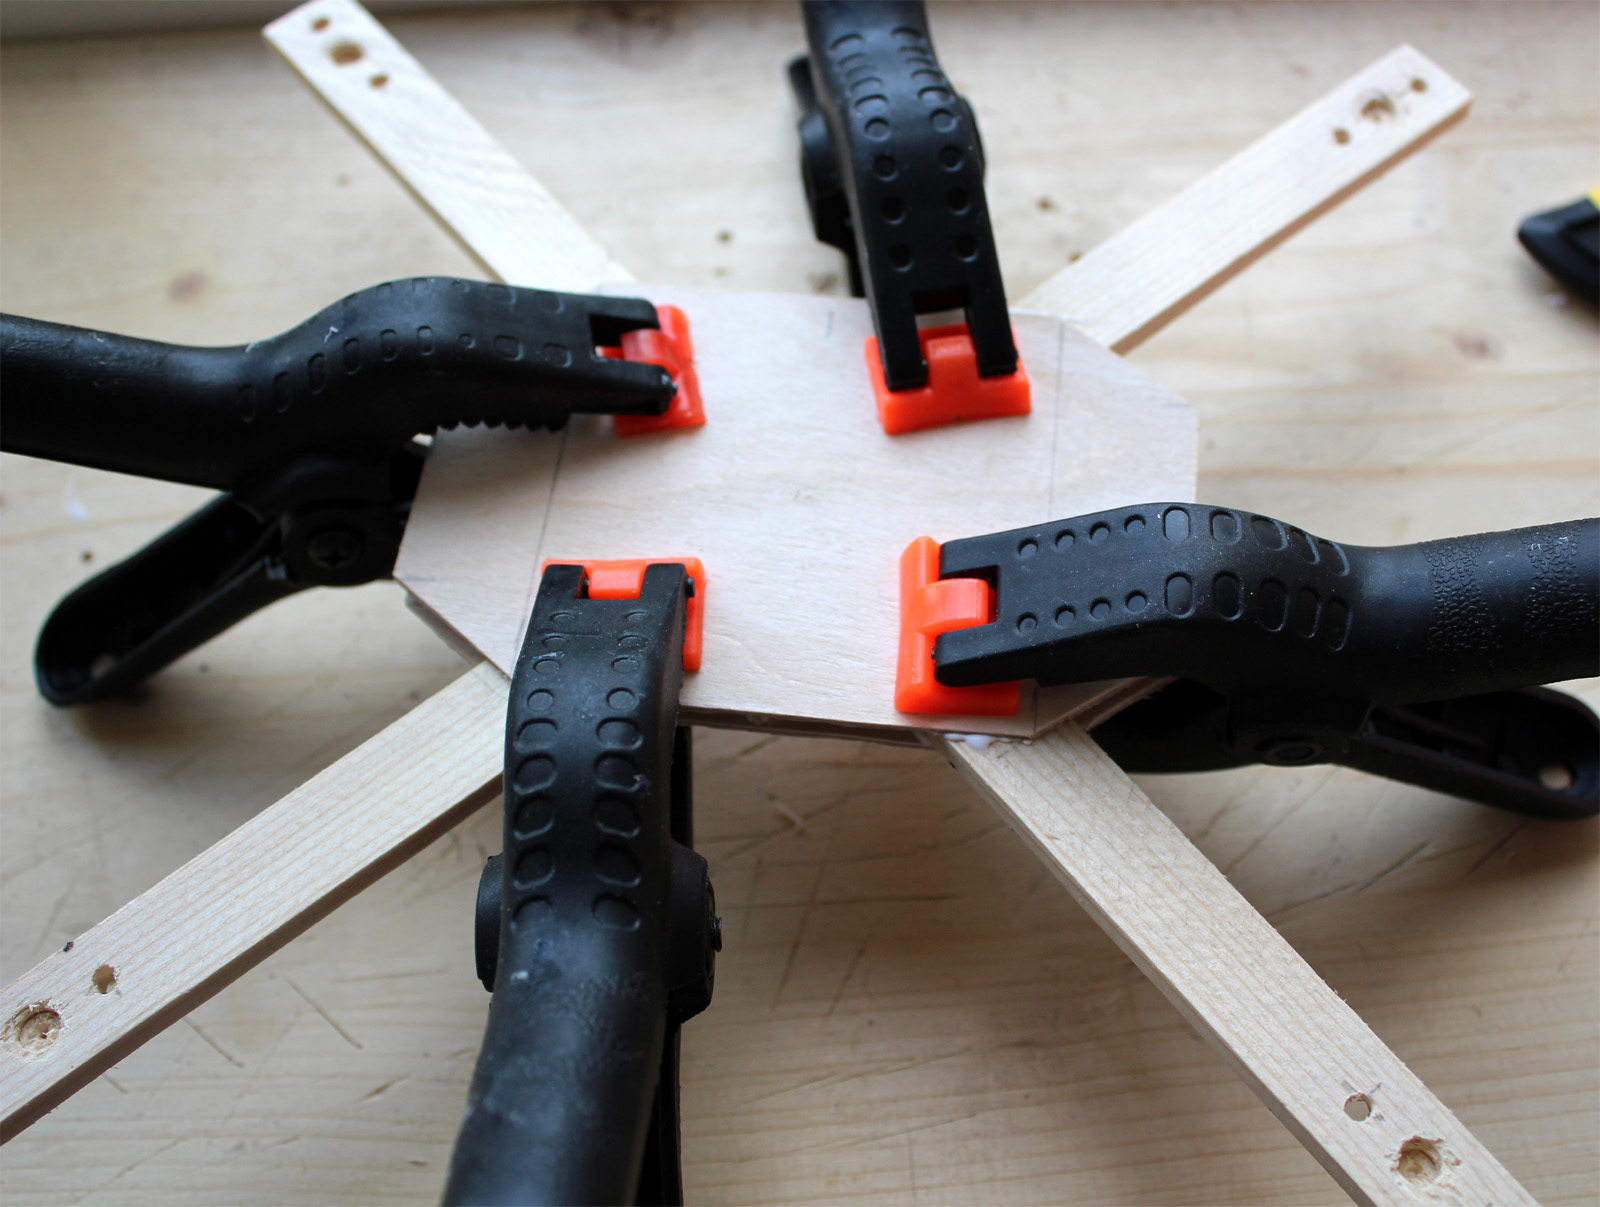 7. After 15 minutes or so, when the glue has set, cut again a rectangle similar with the first one and glue it on the other side. | 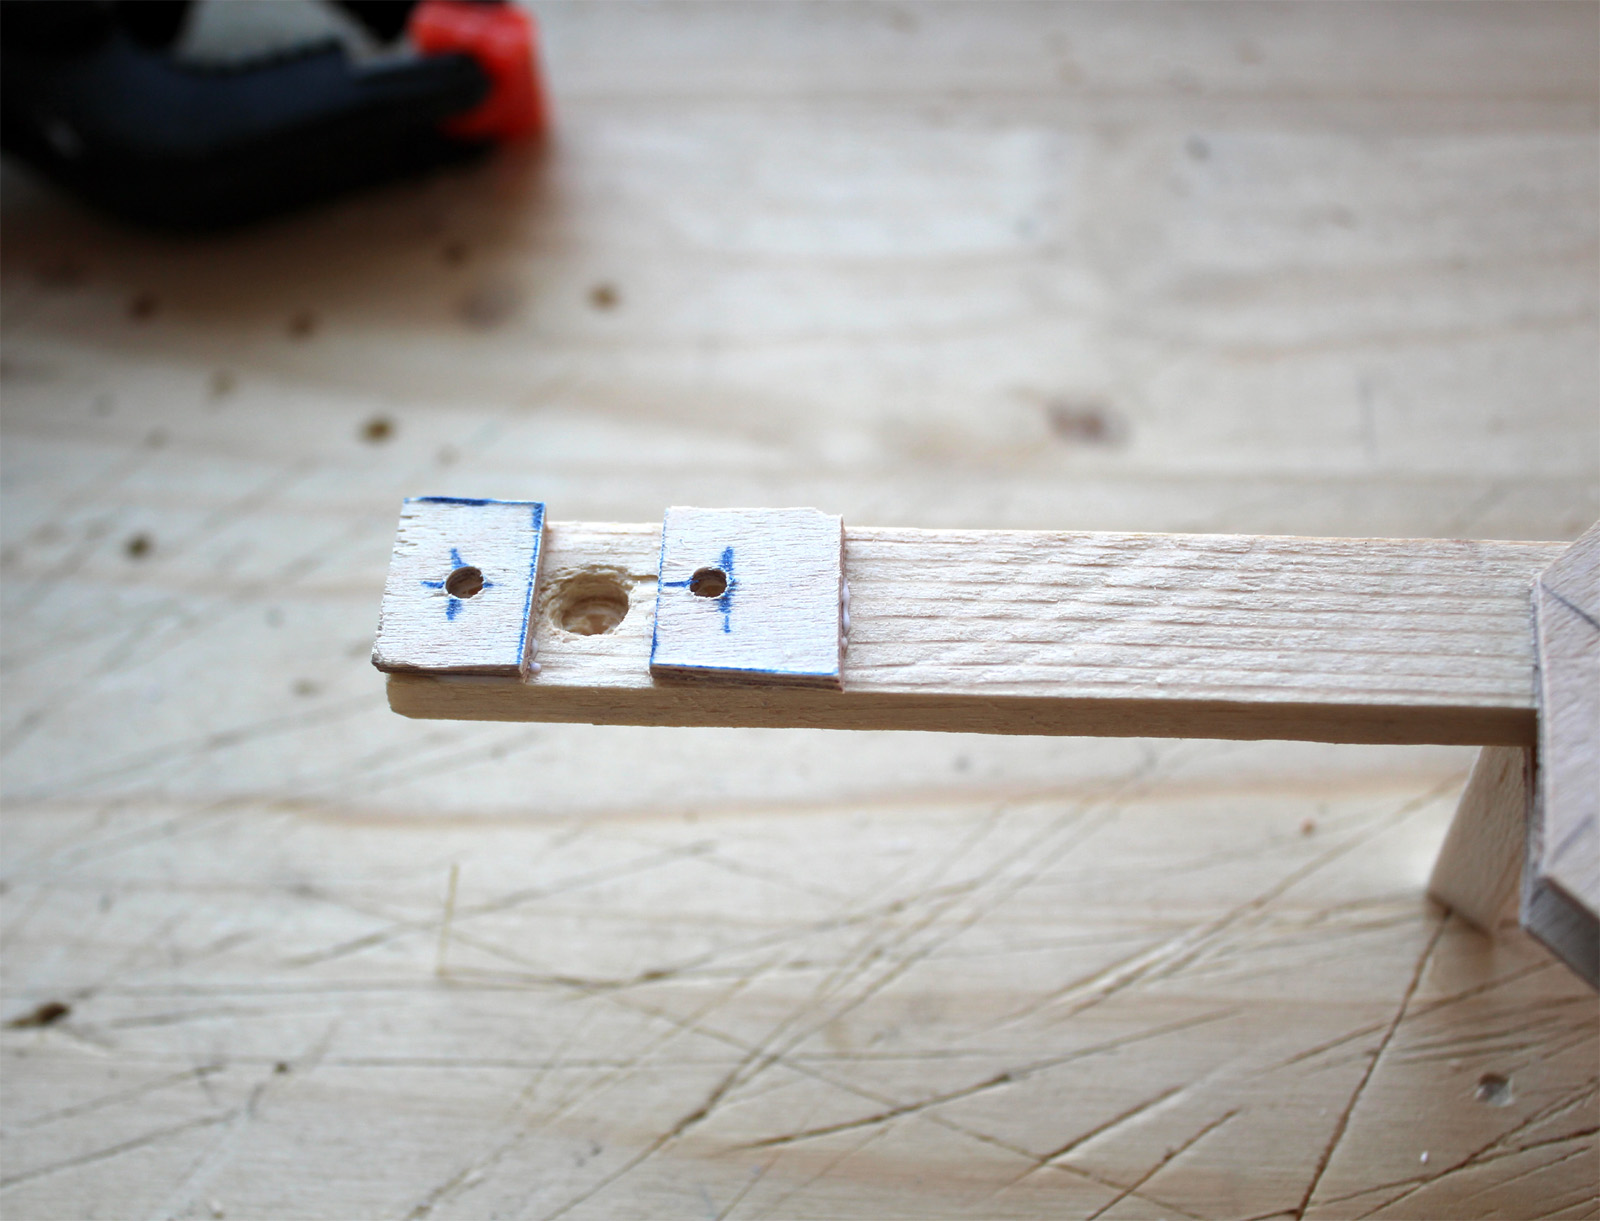 8. If your motor shaft stick out too much from the bottom of the motor, then add some spacers from some scrap wood. Don't forget to measure the hole distances to be identical as the original ones. | |
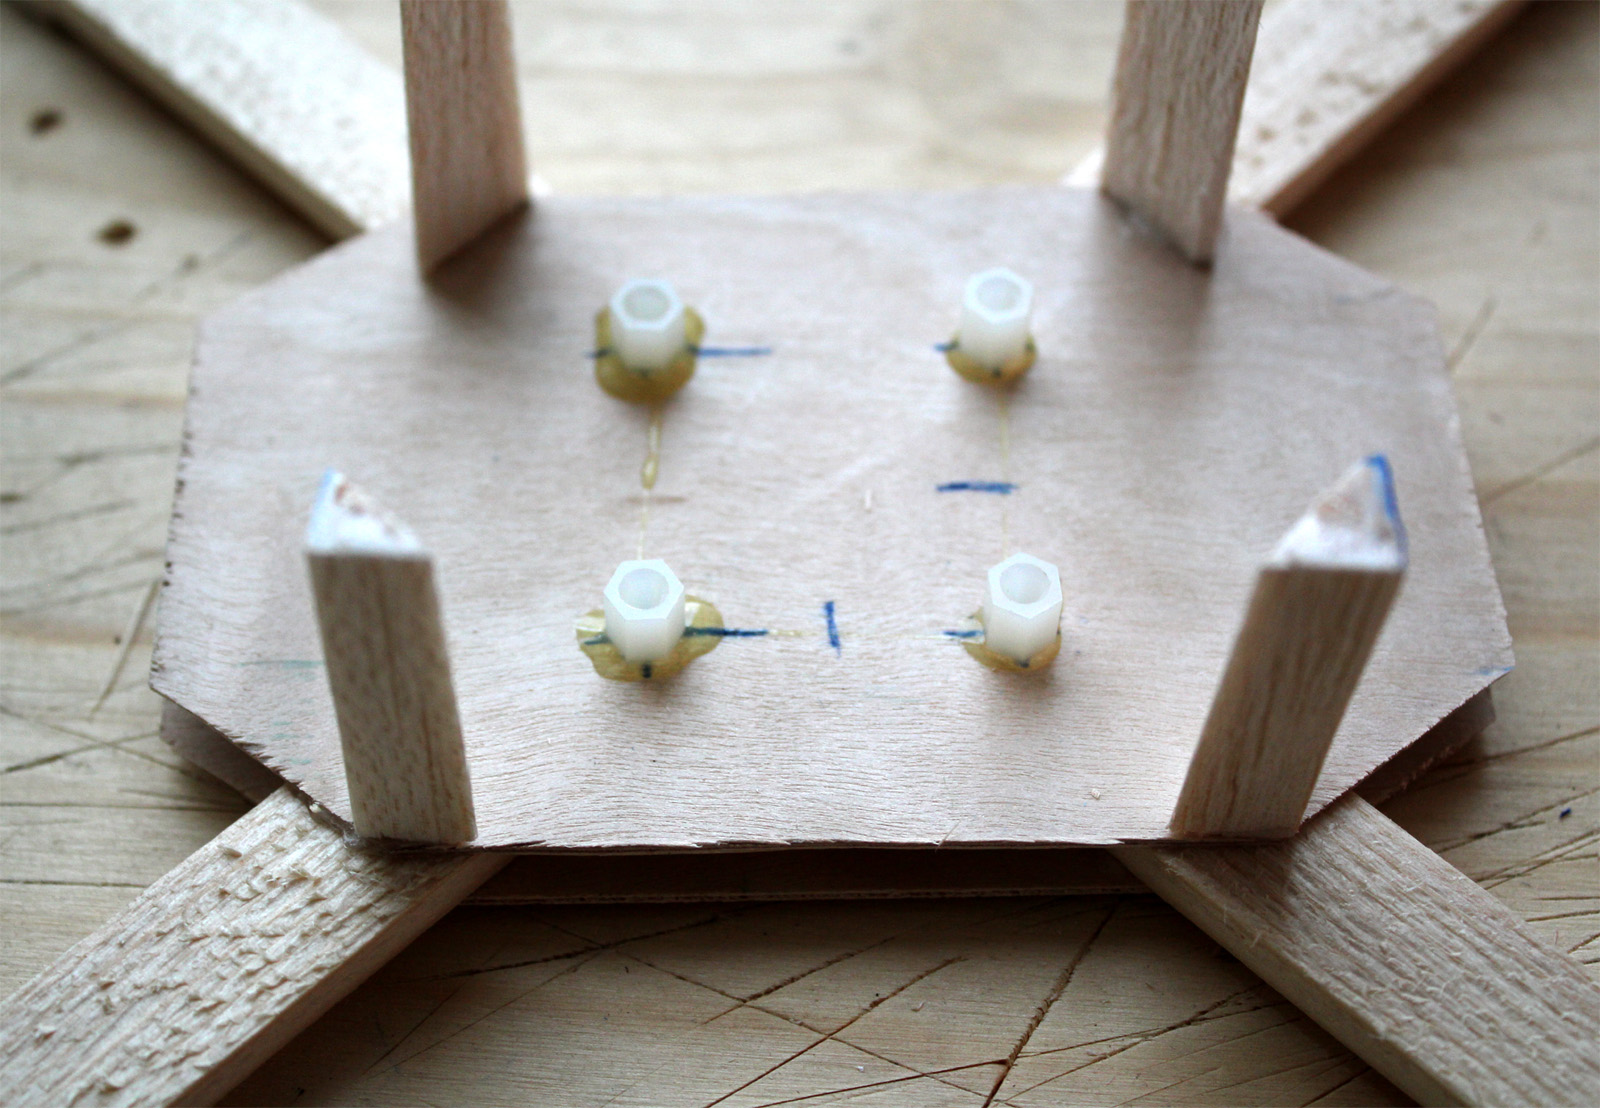 9. Measure your flight controller mounting holes distances and drill some holes on the wood plate to match it. Add some plastic screw-nuts and glue them using a strong adesive (epoxy or similar). |  10. This pretty much completes the construction of the frame. You can then paint it with the color you want and start mounting the motors and electronic components. It's adived to paint it (as opposed to leaving the wood as is), as this protects it over the long time from moisture and root. | |
 1. Cut 4 sticks of wood, 2 of a length of about 2.5 x propeller diameter, 2 of a length of about 2.1 x propeller size. If you use a softer wood, like balsa, then use thicker wood or make a sadwich. |  2. Measure the distance of the mounting holes on the motors and drill matching holes on the stick. Add partial holes for the motor shaft if it sticks out from the bottom of the motor. Also, from some harder scrap wood cut some small squares with holes. Will use them for hardening the motor mount area. | |
 3. Glue those squares over the motor mounting holes. This strengthens the motor mount but also gives more clearance for the motor shaft. | 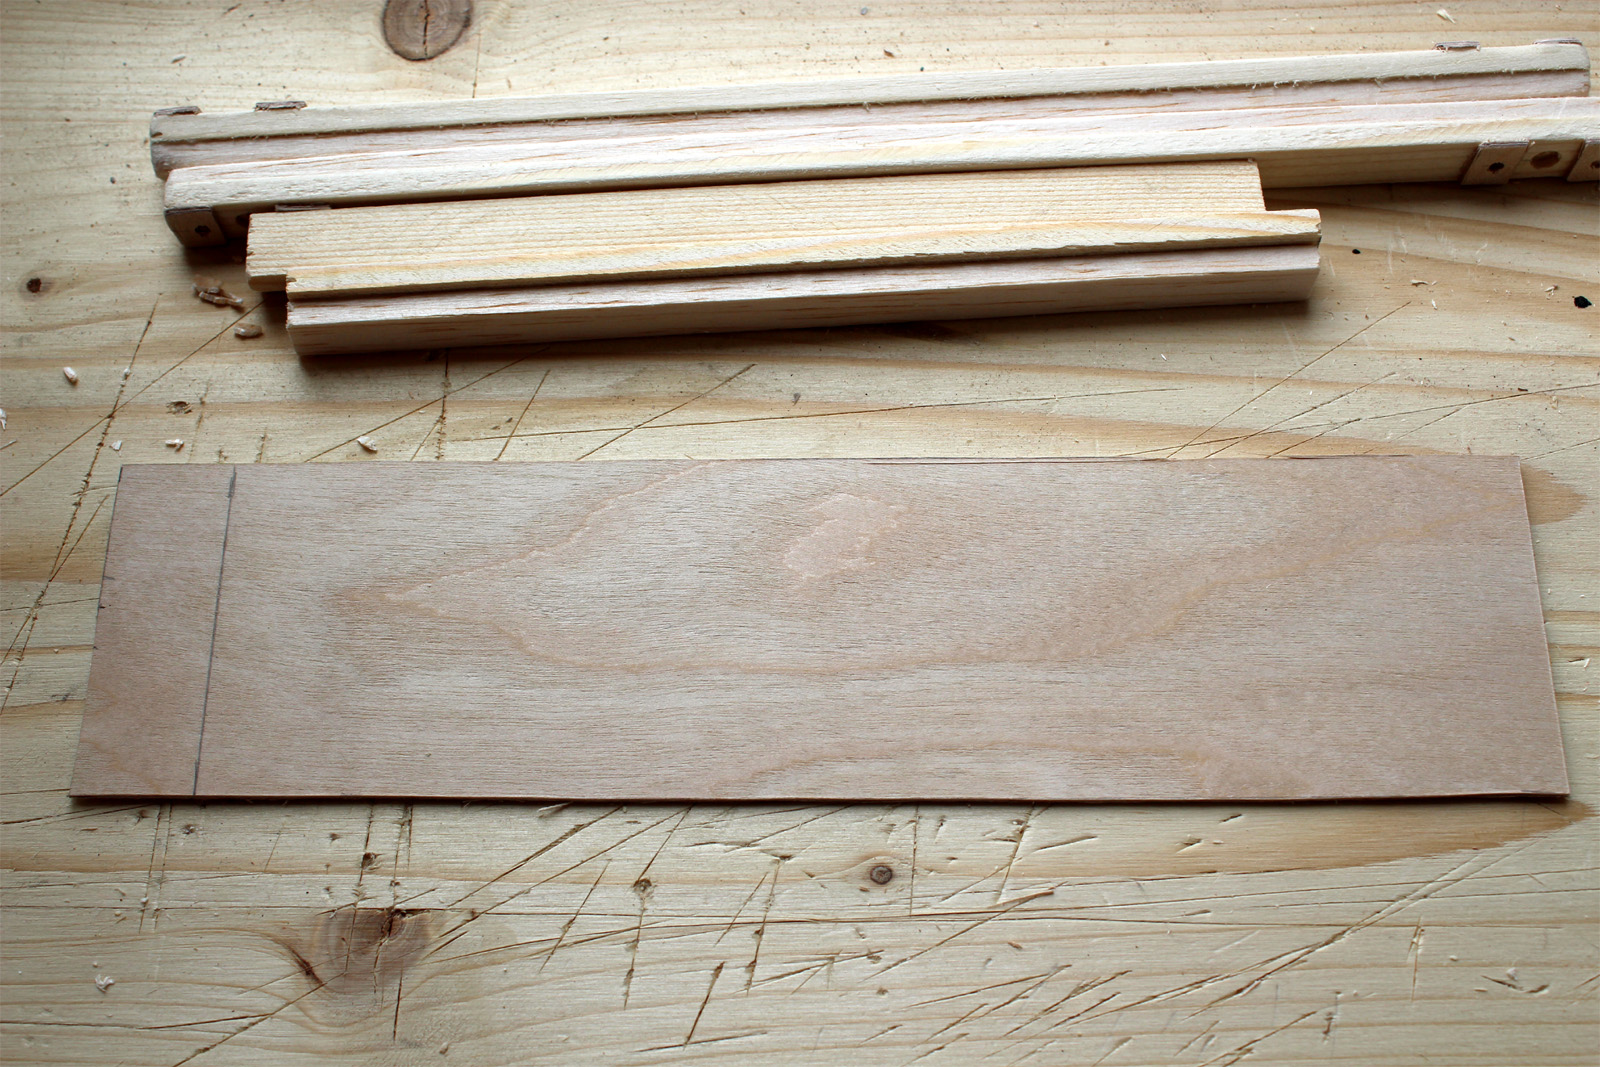 4. From a sheet of plywood cut a rectangle, length of about 2.2 x propeller diameter, width of about 6 to 10 cm. | |
 5. Glue the sticks to the plate as pictured, forming a H letter (hence the name of the frame). Make sure everything is square. | 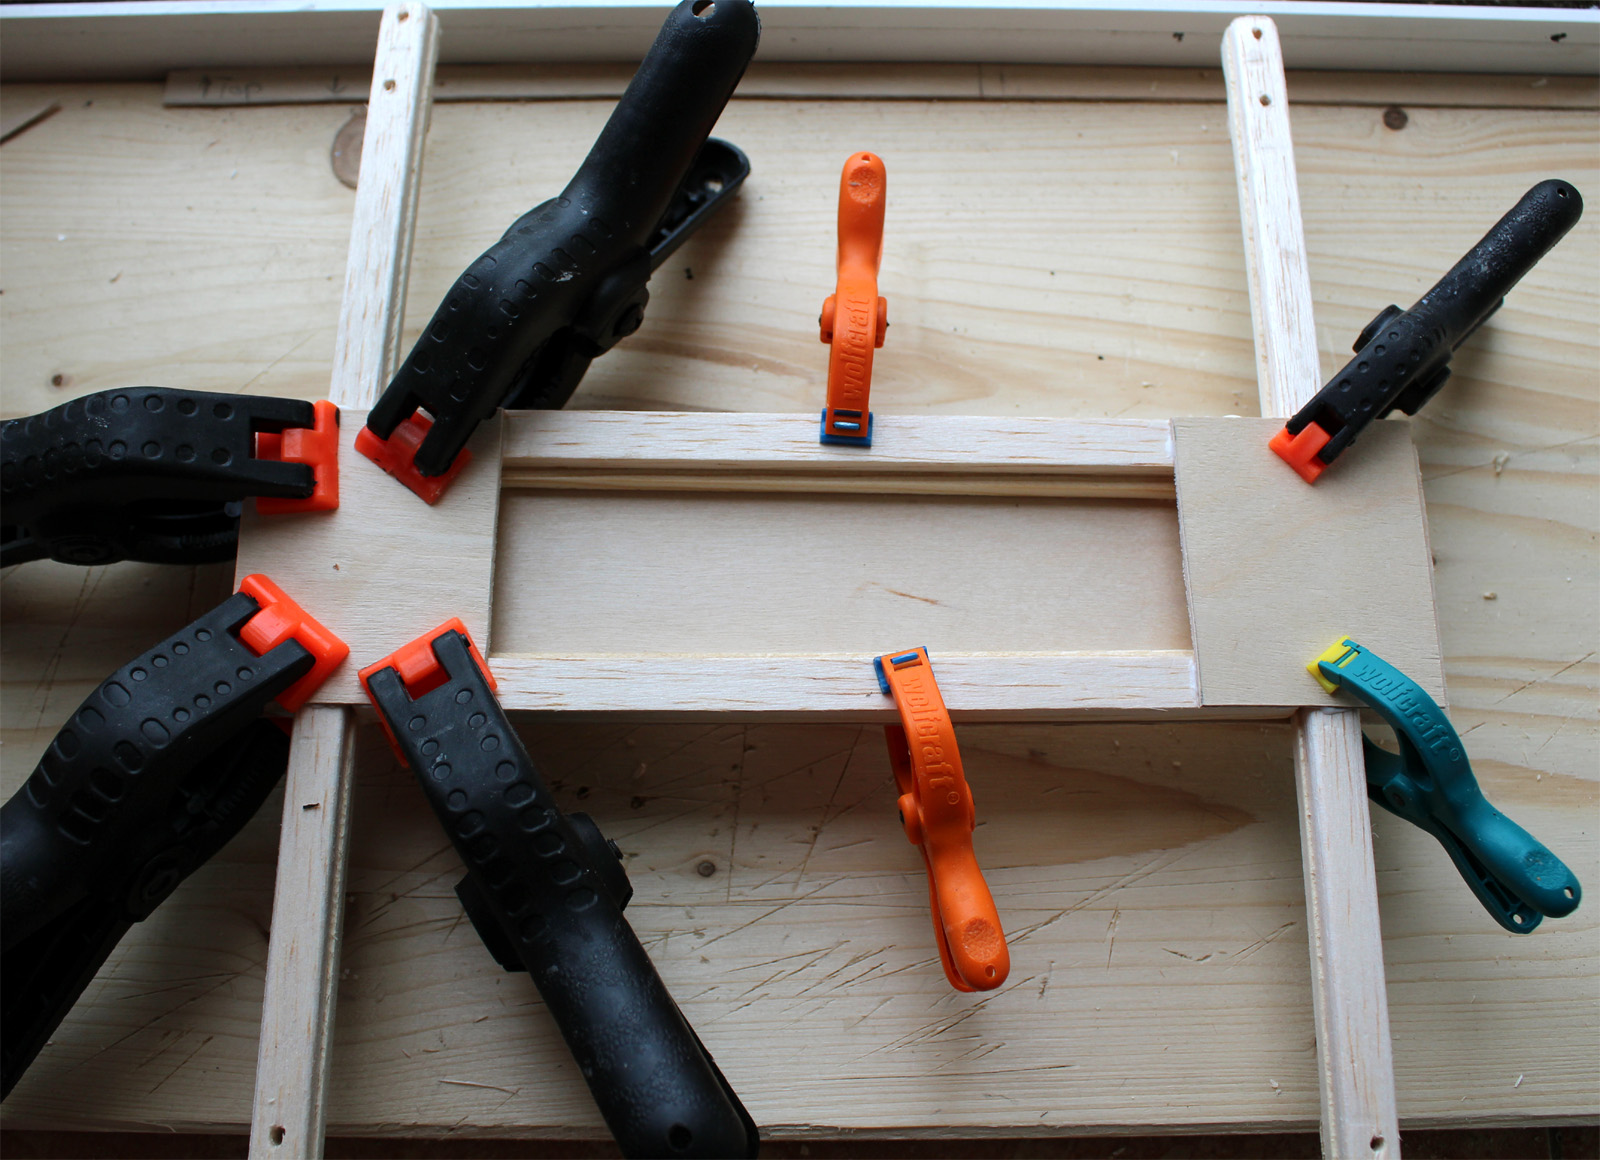 6. Cut 2 additional rectangles from plywood and glue them on the other side, as pictured. | |
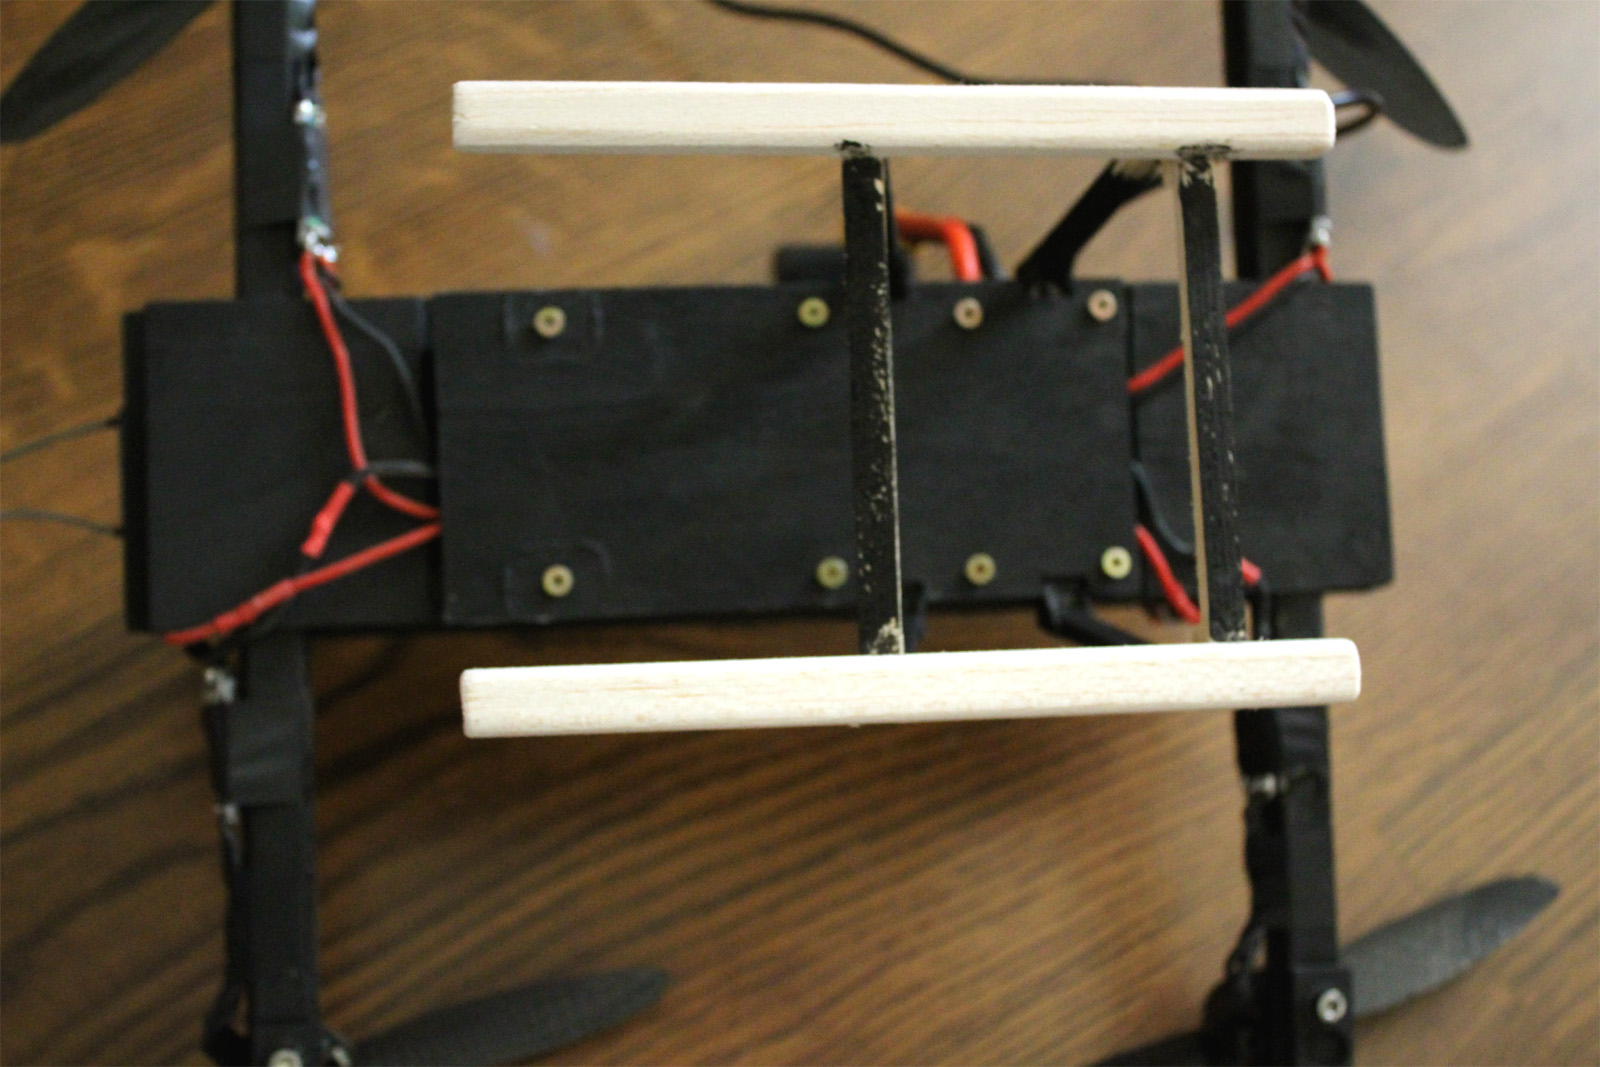
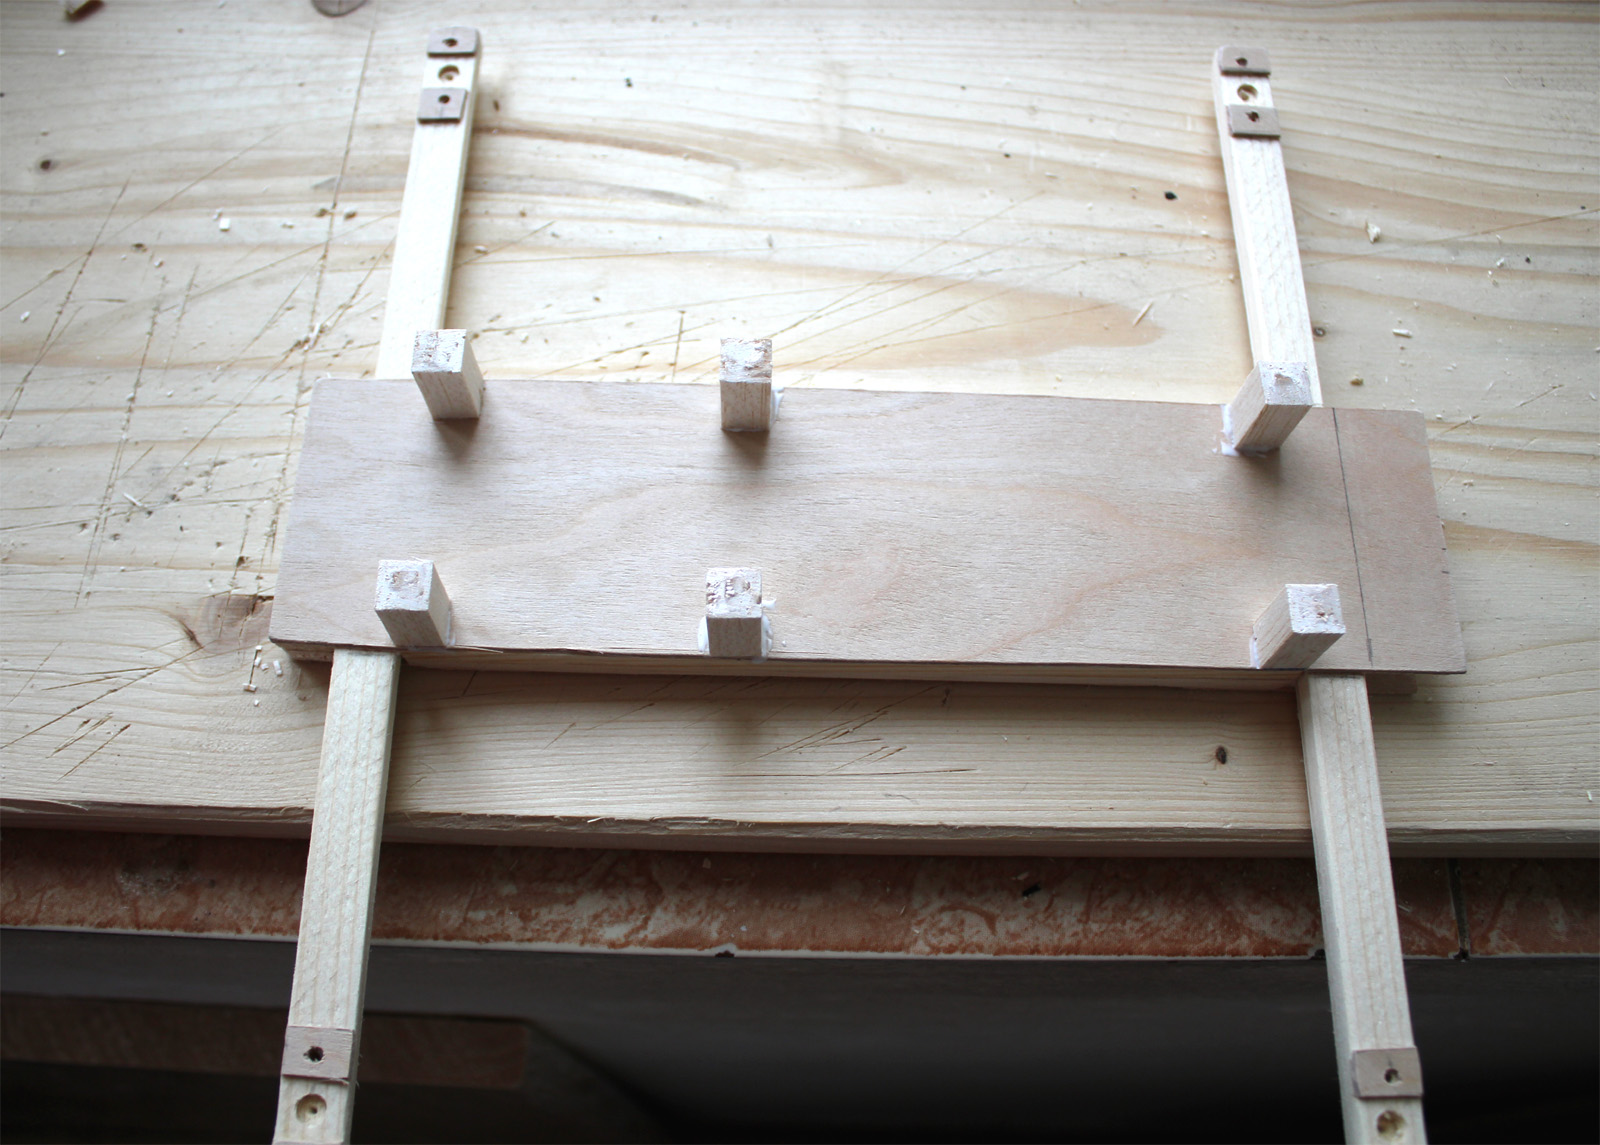 7. After the glue dries, cut some spacers, about 2 to 4 cm in length and glue them on the side where the full plate is. This will be the top side of the drone. | 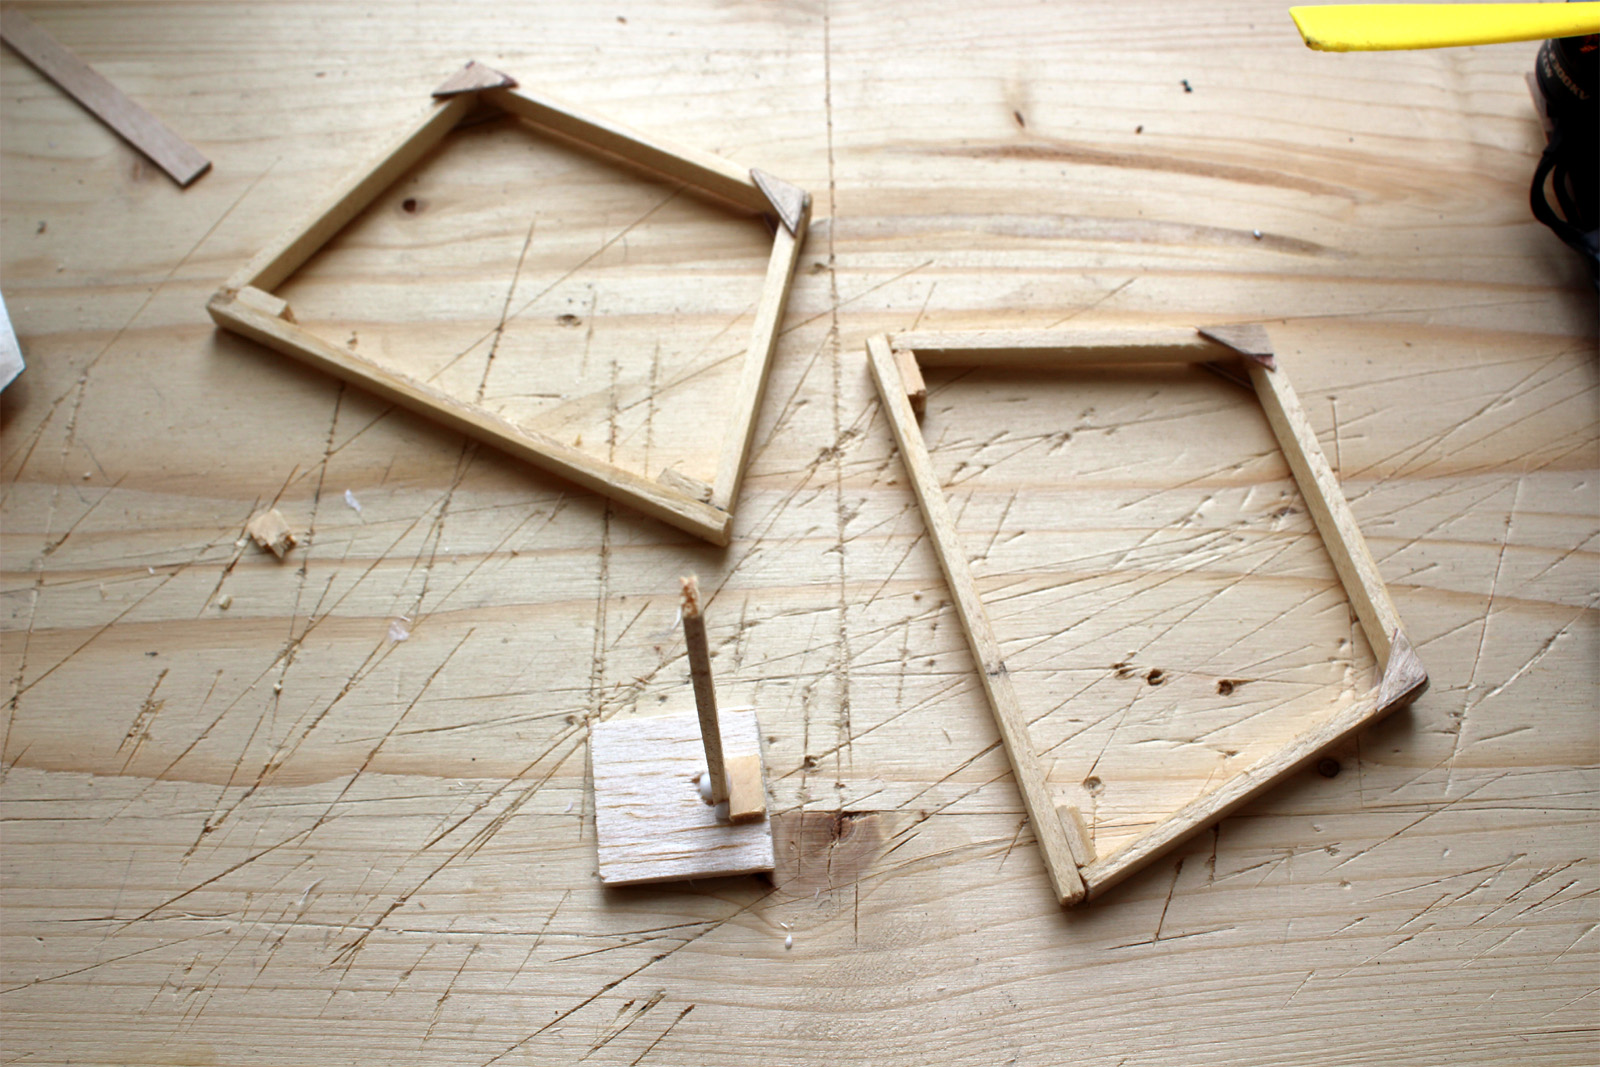 8. Now to the landing gear, which is optional. From some harder wood (not balsa), cut some pieces to make two trapeze. The shorter base of the trapeze should be about the same as the width of the plates we made earlier. Reinforce the corners with some additional pieces of scrap wood. Also make a small platform for where we'll mount the GPS. | |
 9. Cut a rectangle again, same width as the original plates, but shorter in length. Add some grooves for where we'll glue the two trapeze. | 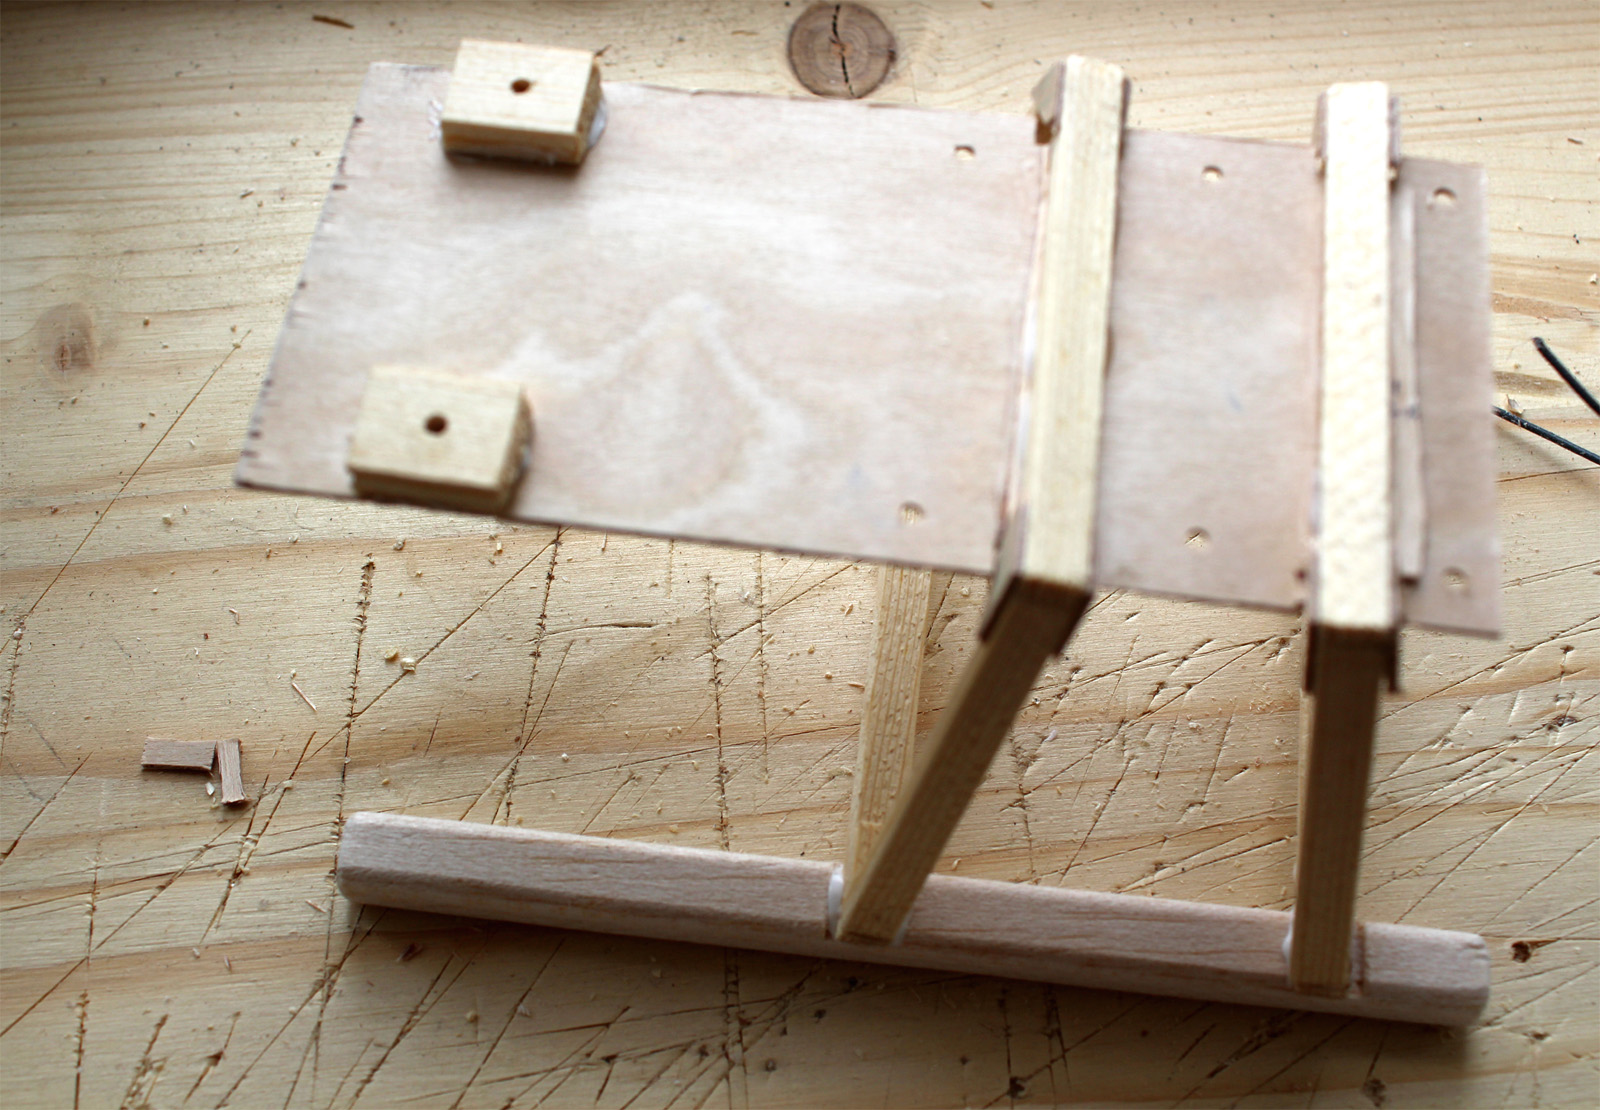 10. Glue everything together as pictures. This will become the landing gear of the drone. Also, drill some holes on the sides. We'll use those to mount the landing gear to the base of the drone. | |
 11. The building part is complete now. We can paint the frame and start with the motors, electronics and everything else. | 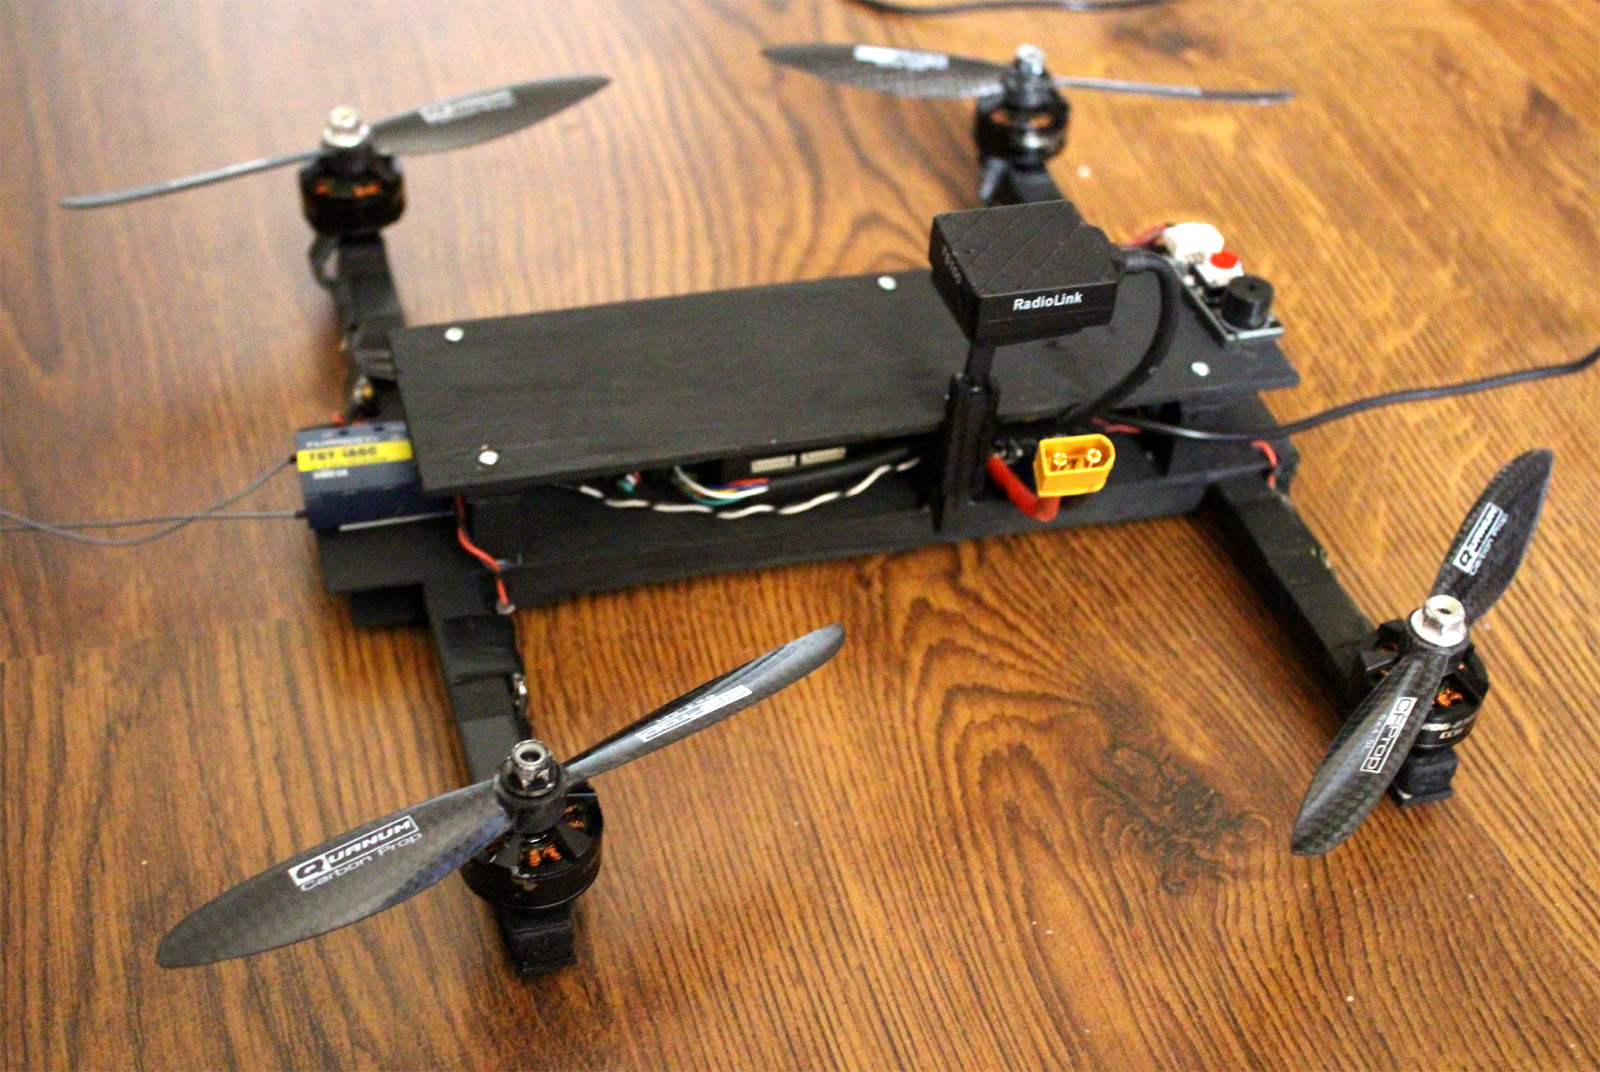 12. From a piece of plywood or balsa (or any wood), cut again a rectangle, same dimensions as the original plate. Drill matching holes for the spacer we glued earlier on top of the drone and mount this plate on top. This will cover and protect all the electronics. Also can be used as support for the battery, if we want to place the battery on top of the drone instead of the bottom. | |
 13. Paint and mount the landing gear to the bottom of the drone. Use some small wood screws to hold it in place. You can glue it permanently but I do not advise this. Maybe you'll want to take it off at a future time. | 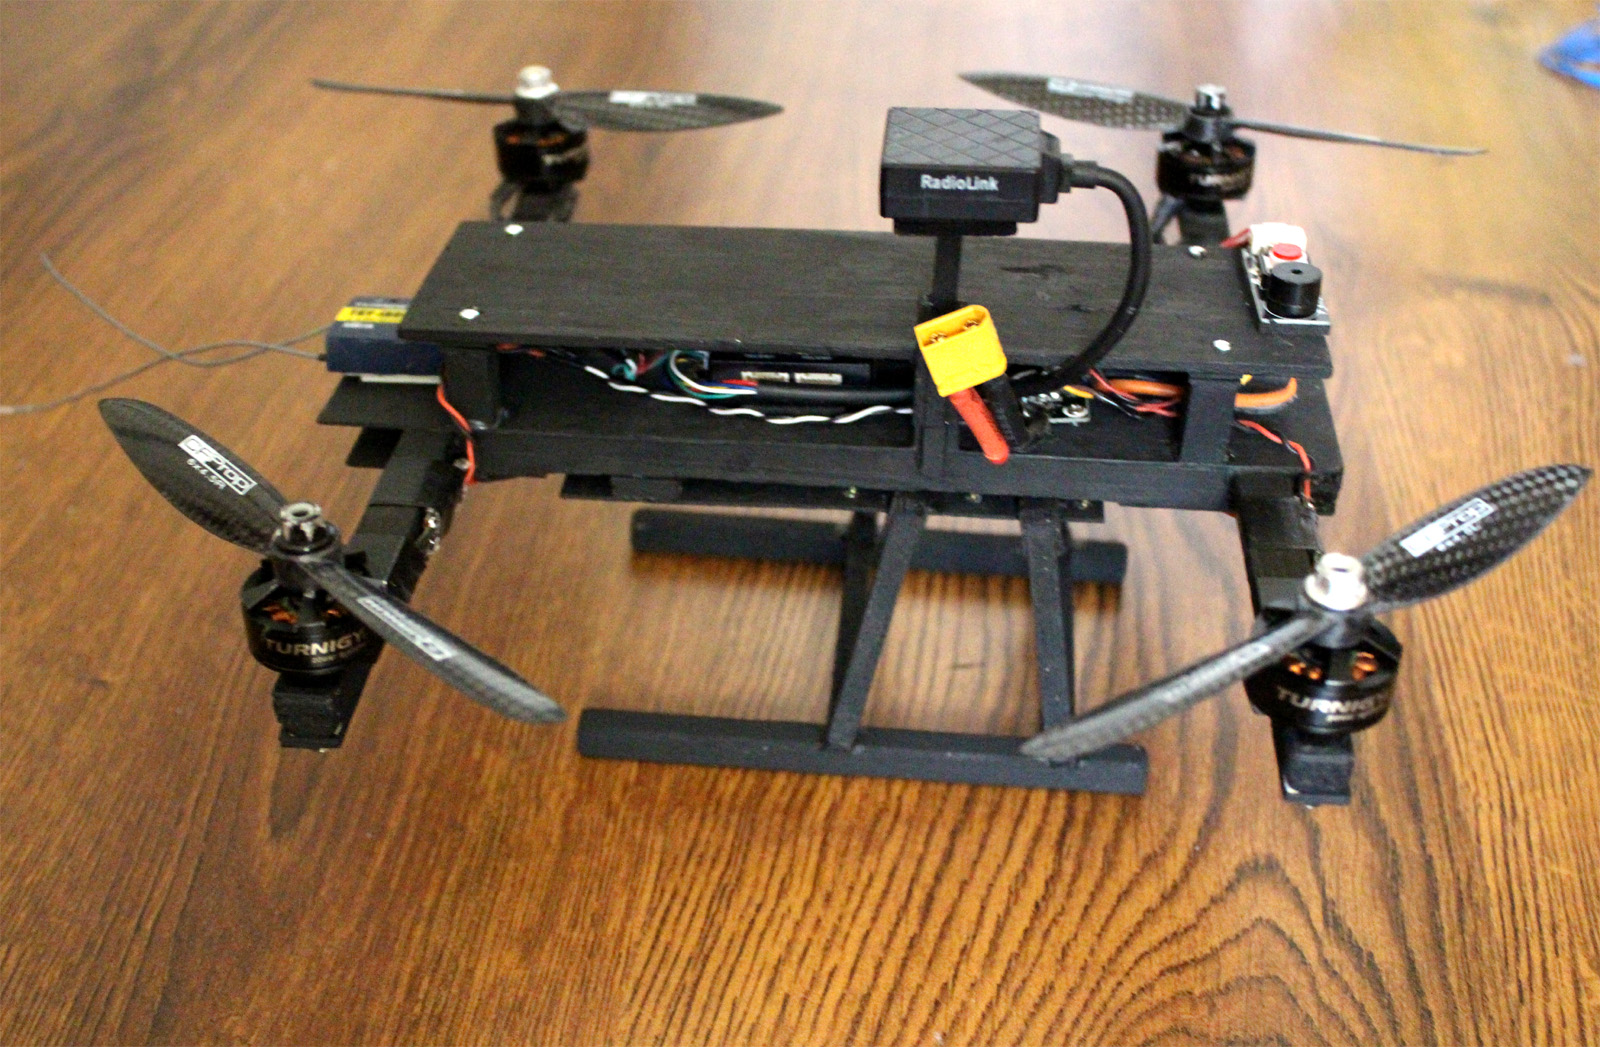 14. You are pretty much done with construction. The drone is ready to setup and fly. P.S. For details on the electronics part of the contruction, chech this article which has more detailed info on the motors and electronics. | |
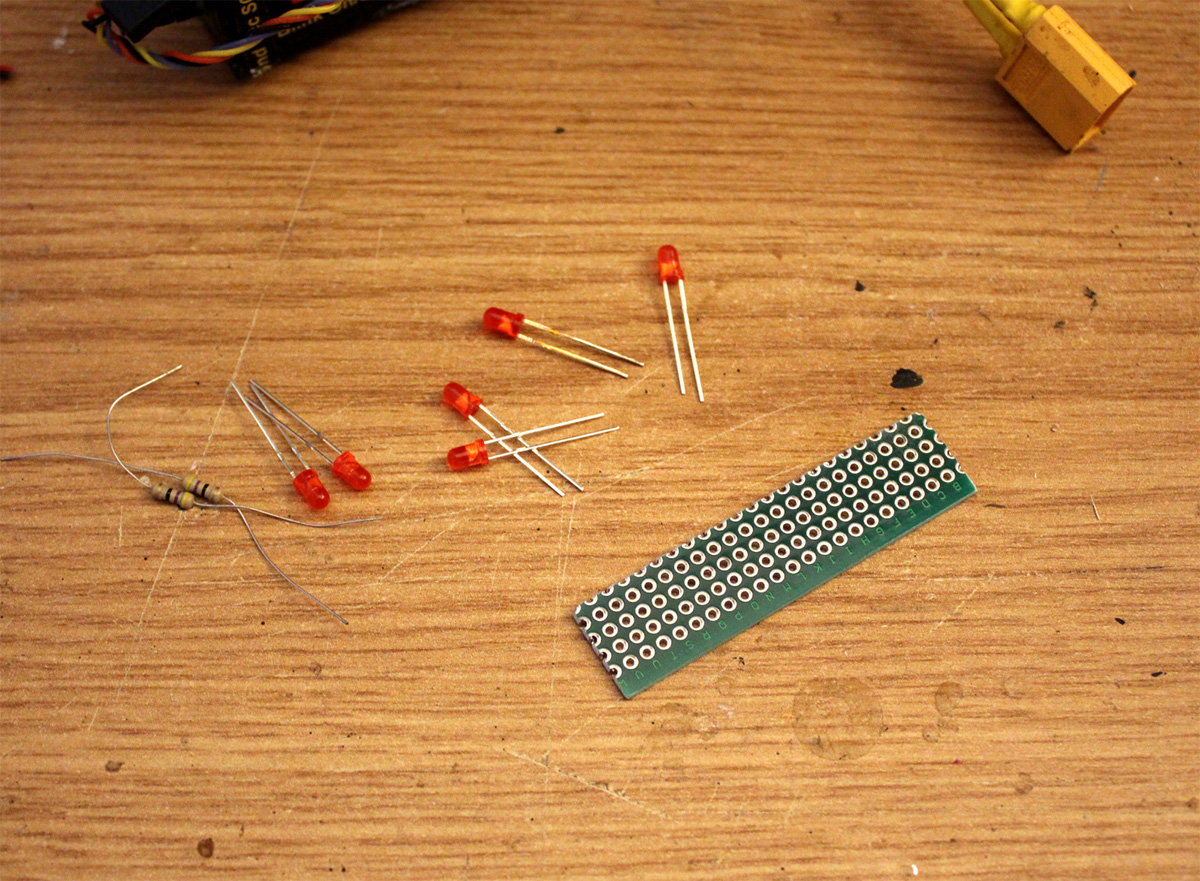 1. Take 6 regular 3mm LEDs, 2 resistors, a piece of pcb or something else and a small connector. You can use other type of leds, just make sure about how much current you provide them (the resistors are there to limit the current, you know the drill: I=U/R). | 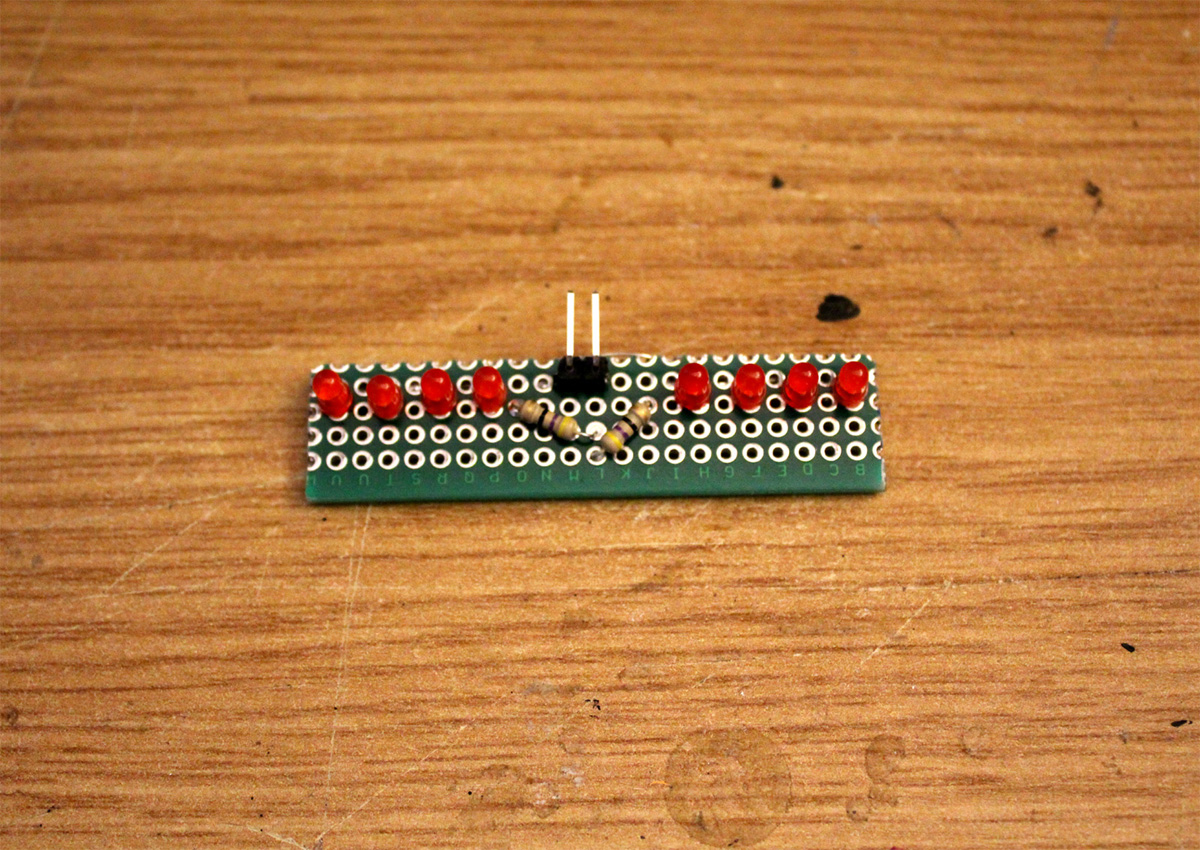 2. Solder them to the pcb, making the circuit as 3 LEDs in paralel, in series with one resistor, and duplicated. That's all. you can mount it to the back of the drone. Here I used 3mm LEDs, 200 ohm resistors, all powered from the 5V power rail from the drone. | |
First drone: | Second one: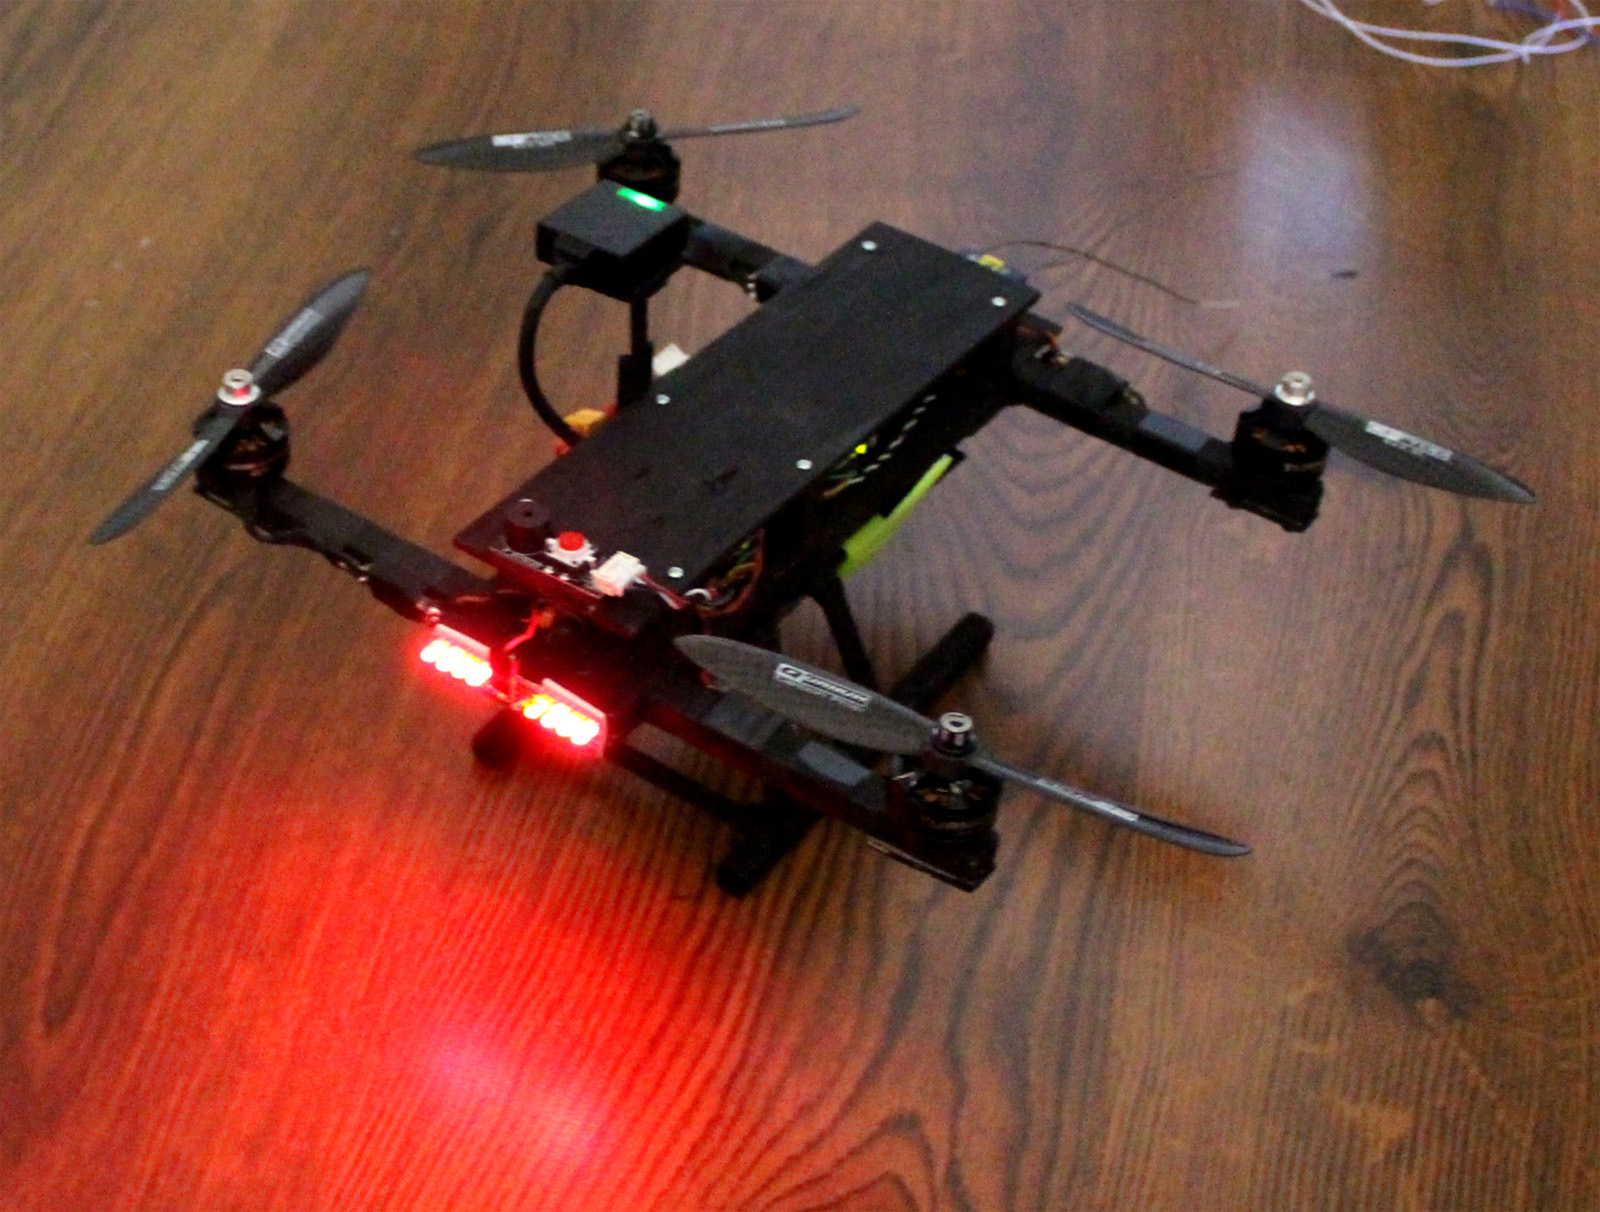 | |
